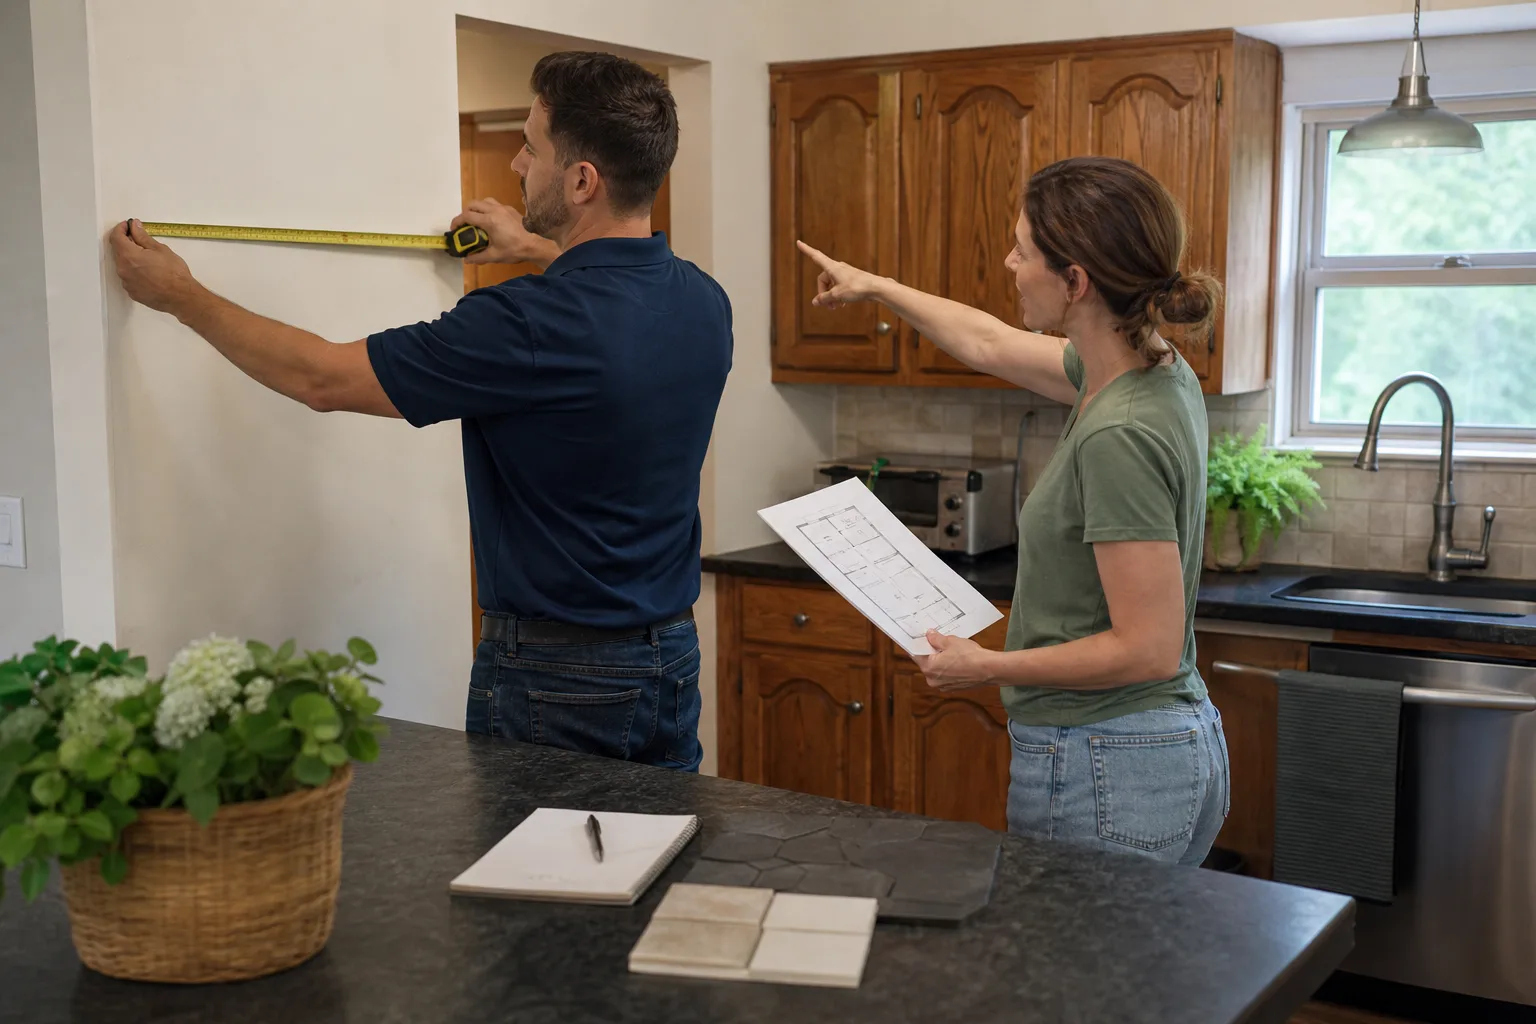
Last updated November 18, 2026








Free written scope consultation - allowances, timeline, and change-order rules on paper before a single trade is scheduled
General Contractor Maintenance Schedule: What to Do and When
California’s Right to Repair Act gives you up to 10 years to pursue certain construction defect claims, but that protection doesn’t run on autopilot. The workmanship warranty from your contractor is a separate, shorter clock, and it usually requires you to actually inspect and report problems while it’s still active. In our experience, most homeowners stop looking at their new kitchen or bath the moment the crew pulls out of the driveway. That’s exactly when the maintenance clock starts ticking. This guide lays out a month-by-month first-year inspection schedule for the systems your contractor touched, shows you how to separate normal settling from real structural movement, explains which manufacturer warranties transfer if you sell, and covers what Costa Mesa’s salt air does to fasteners and flashing over twelve short months.
Quick Answer
After a remodel, inspect these four things monthly for the first year: caulk joints at sinks, tubs and counters; grout lines in tile; flashing and penetrations where the roof or walls meet new construction; and any spot where a new wall, window or duct meets the old house. Document what you find with dated photos. Report anything that keeps moving or keeps getting worse to your contractor within their workmanship warranty window, which is often 12 months. The three touchpoints that matter most are 30 days, 6 months and 12 months.
Styles & brands we work with
- Kitchen remodeling
- Bathroom remodeling
- Home additions & ADU
- Roofing
- Windows & doors
- Driveway & pavers
- Fence
Table of Contents
- The First-Year Inspection Schedule, Month by Month
- How to Tell Settlement Cracks From Structural Movement
- The 30-Day, 6-Month and 12-Month Touchpoints With Your GC
- Which Subcontractor Warranties Transfer When You Sell
- What Costa Mesa’s Coastal Air Does to Fasteners and Flashing
- The Annual Seasonal Maintenance Calendar
- How to Keep Warranty Documentation You Can Actually Use
The First-Year Inspection Schedule, Month by Month
The first twelve months after a remodel are the highest-risk period for workmanship defects. Materials expand and contract, lumber dries out and shrinks, caulk cures and pulls, and plumbing settles into its rough-in. None of that is abnormal. What separates a five-minute fix from a $6,000 water-damage repair is catching it in month two instead of year two.
Months 1-3: Settling and Cure
- Caulk joints: Check the caulk line where the backsplash meets the counter, where the tub meets the surround, and where any exterior window or door frame meets siding. A hairline gap is normal. A gap that’s opened past 1/16 inch needs a callback.
- Grout: Run a fingernail across shower and floor grout. If it crumbles or you can dig it out, the mix was too dry or the tile wasn’t properly back-buttered.
- Doors and drawers: New cabinet doors in Costa Mesa’s dry inland-to-coast temperature swings often need a hinge adjustment around week six. That’s normal seasonal movement, not a defect.
- Flooring transitions: Look at the seam where new flooring meets the old. A 1/8-inch gap is typically inside tolerance. A 1/4-inch gap or a lifted edge is not.
Months 4-9: The Hidden Problem Window
This is where real defects surface, because it’s the first time your new construction has gone through a full wet-and-dry cycle. Check the HVAC penetrations where the duct boot meets the ceiling or roof deck, the flashing at any new roof-to-wall transition, and the underside of exterior window sills. Any staining, softness or bubbling paint on drywall means water is getting in behind the finish. Photograph it. Call it in.
Months 10-12: The Final Sweep
Do a full room-by-room walk before your workmanship warranty ends. We tell homeowners to treat this like a home inspection, only with a checklist that matches exactly what was built. If something on that list isn’t right, you want the request in writing before the clock rolls over.
How to Tell Settlement Cracks From Structural Movement
Every new wall, doorway and drywall seam cracks a little in the first year. That’s called settlement, and it’s cosmetic. Structural movement is different, and the difference is measurable. Here are the numbers to check with a cheap crack gauge or a piece of painter’s tape and a pencil mark.
- Measure the width. Hairline cracks under 1/16 inch (about the thickness of a credit card) are almost always cosmetic shrinkage. Cracks 1/8 inch or wider, especially diagonal ones running from a corner of a door or window, warrant a call.
- Track the growth. Put a pencil mark at each end of the crack and date it. If it’s grown more than 1/16 inch in 60 days, that’s active movement, not settling.
- Look at the pattern. Vertical and diagonal cracks at the corners of openings are common and usually benign. Horizontal cracks in a foundation wall, or stair-step cracks in brick or block, are not.
- Check for sticking doors. If a door that closed cleanly in month one suddenly binds at the top or bottom, the frame is moving. One door is a fluke. Three in the same wall is a pattern.
- Look at the drywall around new openings. A crack that follows the corner bead is cosmetic. A crack that runs out from the corner of the opening into the field of the wall is worth a professional look.
We’ve seen plenty of Costa Mesa homeowners panic over a 1/32-inch crack above a new doorway. That’s normal. We’ve also seen a homeowner ignore a 3/16-inch diagonal crack at the corner of a new sliding door for nine months, and that turned out to be a header that wasn’t sized for the span. Document it, measure it, and give it a month. If it’s growing, call.
The 30-Day, 6-Month and 12-Month Touchpoints With Your GC
Your workmanship warranty is a live contract, not a piece of paper in a drawer. Most remodelers honor it gladly, but only when you actually invoke it. These are the three moments to contact your contractor on purpose, not because something is broken.
30 Days: The Punch-Walk Revisit
This is the follow-up visit that should already be on the calendar. Materials have cured, paint has fully dried, and any minor adjustment (a cabinet door that’s swung, a shower door that’s settled, a programmable thermostat that needs re-setting) is quick and cheap to fix. Bradford builds a 30-day check into the process for exactly this reason. If your contractor doesn’t offer one, ask for it in writing.
6 Months: The Mid-Year Inspection
By month six, you’ve been through at least one seasonal temperature swing. This is the right time to walk the job with the GC and check caulk, grout, flashing, and any pressure-testing on new plumbing. Bring your photo log. If you can’t get the GC out, at least send a written summary of what you’ve observed.
12 Months: The Warranty Closeout
Thirty days before your workmanship warranty expires, do a final inspection and submit anything you’ve found in writing. This protects you in two ways: it forces one last professional look at the whole job, and it creates a dated record that a defect existed inside the warranty period. That record is gold if the problem surfaces again later.
Which Subcontractor Warranties Transfer When You Sell
If you sell your home inside the warranty window, the workmanship warranty usually stays with the property, but only if you can prove it exists. Manufacturer warranties vary widely and some explicitly exclude transfer. Here’s the short version.
- Roofing: Most GAF, CertainTeed and Owens Corning shingle warranties are either limited-transferable or fully transferable to a second owner within a set window (often 10 to 25 years depending on the product tier). You need the original material receipt and the installer’s certification email to make it stick.
- HVAC: Equipment warranties (compressor, heat exchanger) usually transfer. Labor warranties usually do not, unless your contractor specifically signed a transferable labor guarantee. Ask for it in writing at install, not at sale.
- Plumbing fixtures: Kohler and Moen lifetime finish warranties do transfer with the fixture in most cases, but their cartridge and internal-part warranties are limited. Photograph the model sticker on the inside of the fixture before drywall closes.
- Exterior cladding: James Hardie siding and Therma-Tru door warranties are generally transferable, but they require the original documentation and often a proof of proper installation. Keep the spec sheet and the installer’s sign-off.
- Windows: Most window warranties are either fully transferable or transferable once, and the transfer window is usually short. Read the fine print at install time, not sale time.
The single easiest thing you can do is build a warranty binder at project close. Every spec sheet, every receipt, every signed written guarantee goes in it. If you’ve hired a Costa Mesa crew through our General Contractor in Costa Mesa service, we hand you that binder at the finished walk. It’s part of what “squared away” means at close: clean site, documented scope, signed written guarantee in your hand.
What Costa Mesa’s Coastal Air Does to Fasteners and Flashing
Costa Mesa sits roughly two miles from the Pacific, and that distance does almost nothing to protect your exterior from salt air. Marine-layer moisture rolls in most mornings year-round, and it settles on every horizontal surface: window sills, flashing laps, the tops of door thresholds, the bottom edges of siding. On a metal fastener, that’s enough to start corrosion within 12 to 18 months if the fastener is galvanized rather than stainless or coated.
What to inspect every year on a Costa Mesa home:
- Flashing laps: Look at the step flashing where the roofline meets a wall on the ocean-facing side of the house. White chalky residue or a red-brown crust is oxidation. It’s cosmetic until it isn’t, and then it’s a leak path.
- Fasteners on exterior trim: If you see rust streaks running down from a screw or nail head on siding or trim, that fastener is either not rated for coastal exposure or was installed without a gasket. Both are fixable. Neither gets better on its own.
- Bottom edges of doors: Thermally broken aluminum and steel doors do best here. Therma-Tru composite doors are a common choice for exactly this reason. Even so, check the bottom seal and threshold for bubbling or flaking paint every spring.
- Siding substrate: James Hardie fiber cement holds up well to coastal air, but the factory finish still needs a wash twice a year in Costa Mesa to strip salt film. Salt film traps moisture against the surface and shortens the life of the paint film.
- Deck and stair hardware: Stainless or hot-dip galvanized only. Any zinc-plated hardware installed on an exterior deck in Costa Mesa is on a five-to-seven-year timer before it starts failing.
Between the salt air and the dry Santa Ana wind events that pull humidity down into single digits for days at a time, exterior materials in Costa Mesa cycle through more stress than almost anywhere else in the county. The maintenance calendar isn’t optional here. It’s the difference between a decade of performance and a five-year repair bill.
The Annual Seasonal Maintenance Calendar
Once you’re past year one, the maintenance schedule shifts from monthly to seasonal. This is the calendar we hand every homeowner at close.
- Spring (March-May): Wash exterior siding and windows, inspect caulk at every door and window frame, clean gutters and downspouts, check the HVAC filter and the condensate line.
- Early summer (June): Walk the roof flashing and any skylights. Clear debris from valleys. Look for loosened shingles or lifted ridge caps.
- Late summer (August-September): Pre-Santa Ana prep. Check the exterior door seals before the dry wind events start. Confirm irrigation isn’t running against the foundation. Look for any newly opened gaps at hardscape joints.
- Fall (October-November): Interior walk. Check caulk at sinks, tubs and counters. Look at grout in the shower. Test all GFCI outlets in wet areas. Check smoke and carbon monoxide detectors.
- Winter (December-February): The rainy season is when leaks show. Watch the ceilings and walls under any new window, addition or skylight after the first big storm of the year. Keep a photo log.
If a kitchen remodel is on your horizon, the maintenance schedule gets even more involved because you inherit warranties on cabinets, countertops and appliances all at once. Our Kitchen Remodeling in Costa Mesa page walks through the specific pre-close documentation you should demand. Bathroom remodels have their own list, driven by the tile and moisture-management work; see Bathroom Remodeling in Costa Mesa for the specifics there.
How to Keep Warranty Documentation You Can Actually Use
A warranty you can’t find is a warranty you don’t have. The maintenance checklist is only as good as the paper trail behind it. Here’s a simple system that works.
- One binder, one folder, one cloud folder. Physical binder in the utility room. Digital copies in a shared cloud folder. Every document goes in both.
- Dated photos at every touchpoint. Month 1, month 6, month 12. Name the files by date and location (“2026-03-15-kitchen-sink-caulk.jpg”). If you ever need to prove a defect existed inside the warranty window, this is the evidence.
- Signed written guarantees, not just emails. A signature page is enforceable. An email saying “we’ll take care of it” is much harder to lean on five years from now.
- Manufacturer spec sheets and model numbers. Photograph the inside of every installed fixture and appliance before drywall closes. You’ll need those model numbers for parts, replacements and warranty claims.
- Receipts and install dates. Every manufacturer warranty starts on the install date, not the purchase date. Log both.
Our Bradford Remodeling Co Costa Mesa home page explains how we hand off that documentation on every job. The 365-Day Done Right Promise means that if anything fails inside the guarantee window, whether it’s a caulk line, a grout joint, a flashing detail or a fixture install, we come back and correct it at no charge. The homeowner’s job is to tell us. Ours is to show up.
Common Mistakes to Avoid
- Not opening the warranty envelope. Most homeowners file the guarantee with the closing paperwork and never read it. The 12-month inspection window is inside that document, in writing, and missing it is the single most common way homeowners void their own coverage.
- Treating a small crack as “normal settling” for too long. A 1/32-inch crack in month two is normal. A 1/8-inch crack in month six is a call. In Costa Mesa, we see this most often on drywall above new window and door openings.
- Skipping the 30-day follow-up. Small issues are cheapest to fix at 30 days. A hinge adjustment in week four is ten minutes. The same cabinet door hanging crooked for two years can warp the face frame. Ask for the follow-up if it isn’t on the schedule.
- Caulking a wet joint. If you patch a shower caulk line before it’s fully dry, the new caulk won’t bond and you’ll be back at it in six weeks. Dry the joint fully, use the correct 100% silicone or siliconized acrylic per the material, and give it the full cure time.
- Losing the manufacturer documentation. When you sell, most roofing, siding and window warranties need the original spec sheet and install record to transfer. If you tossed that folder in year one, you’ve lost the second owner’s coverage too.
- Washing coastal salt film with a pressure washer on high. It’s the fastest way to strip James Hardie finish or force water behind siding. Low pressure, mild detergent, rinse, done.
- Ignoring the exterior. The interior of a Costa Mesa home often looks perfect while the ocean-facing flashing is failing. Half of every maintenance walk should be outside.
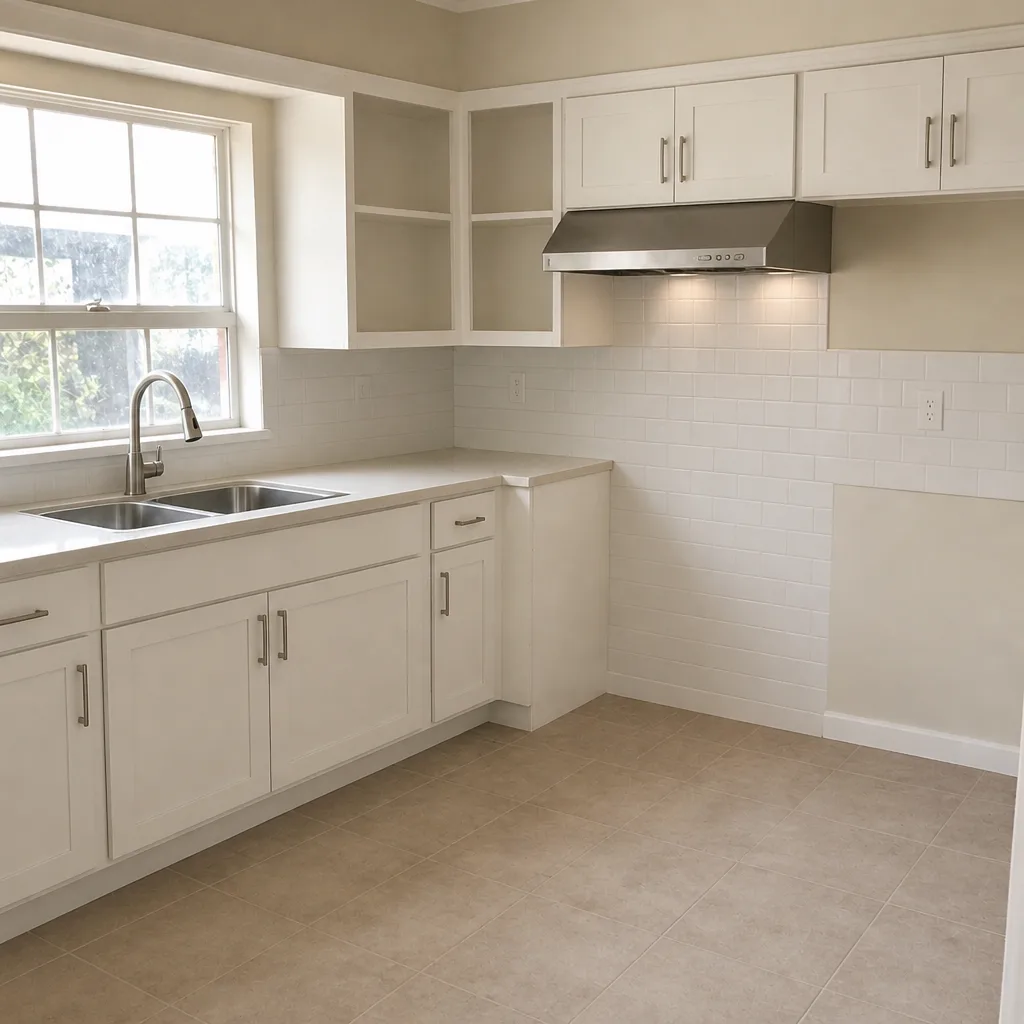
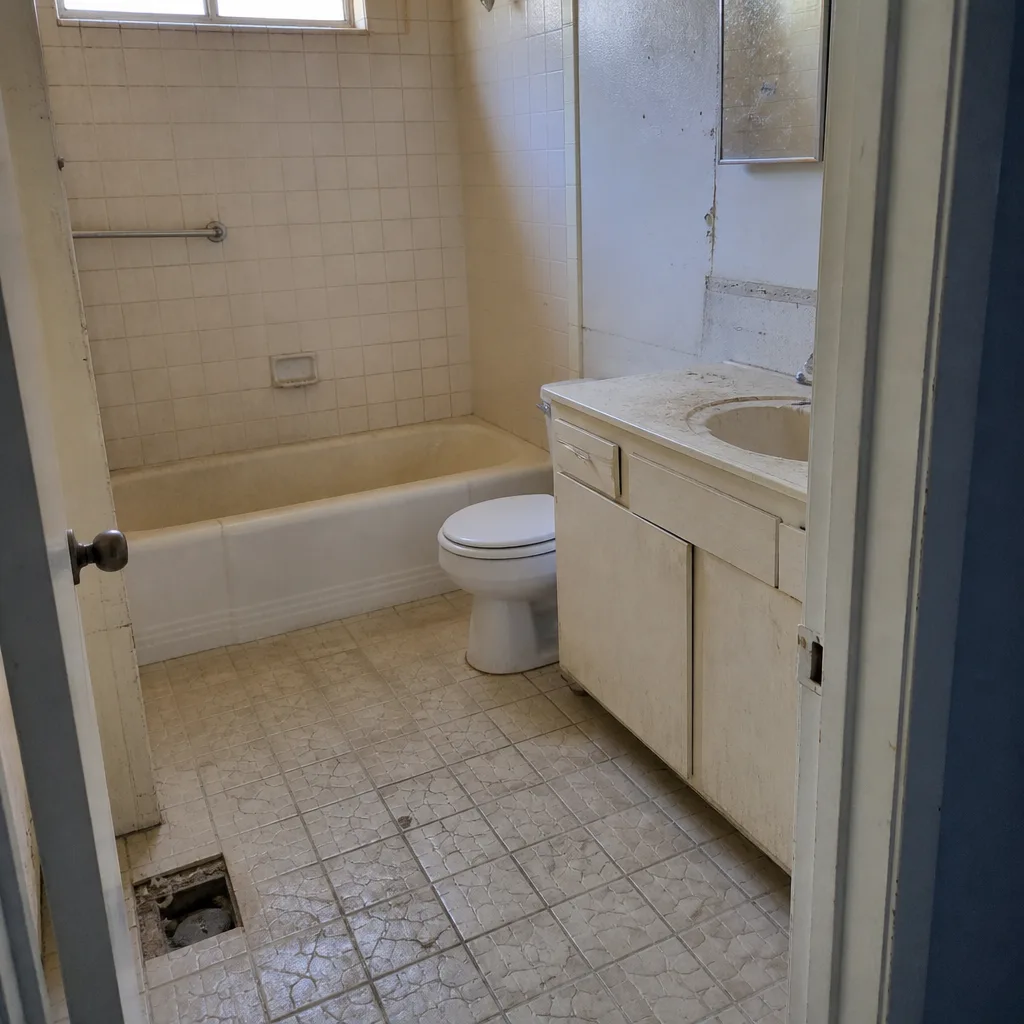
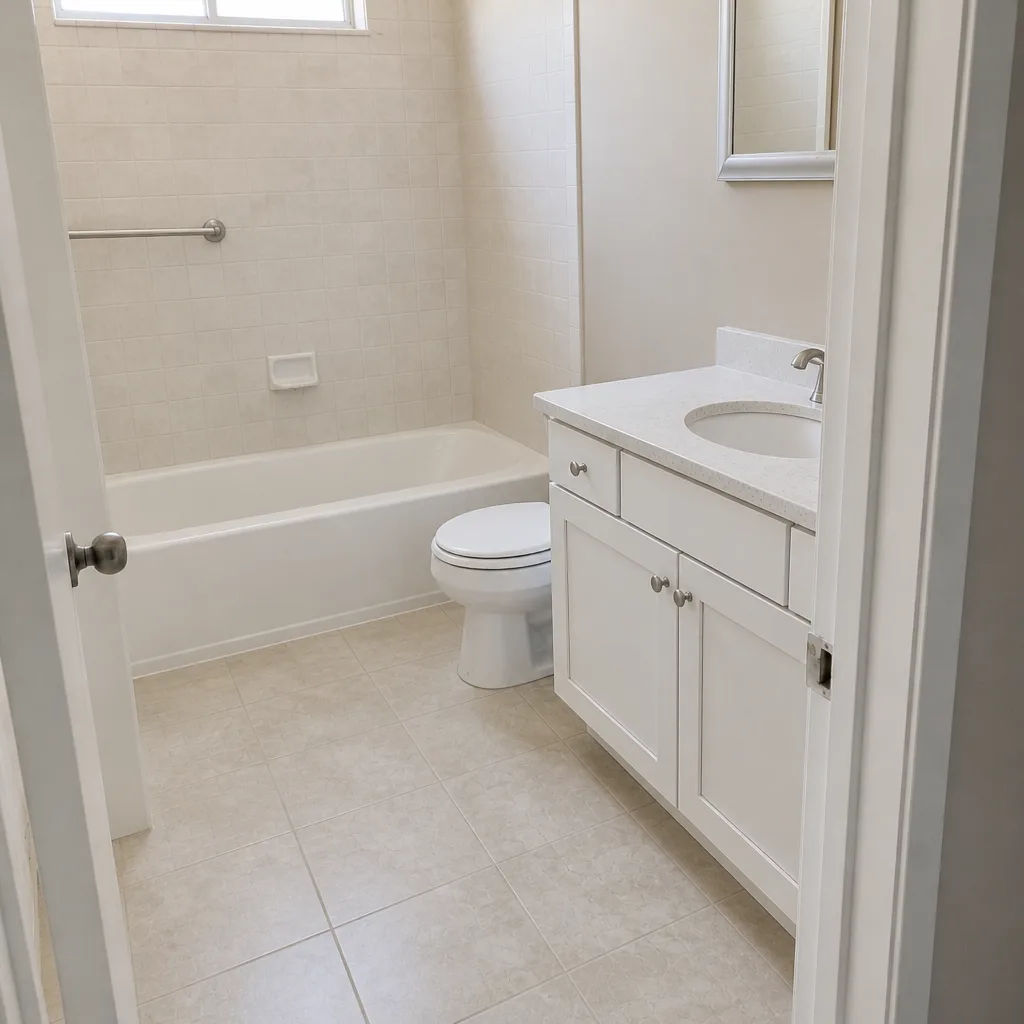
See the difference
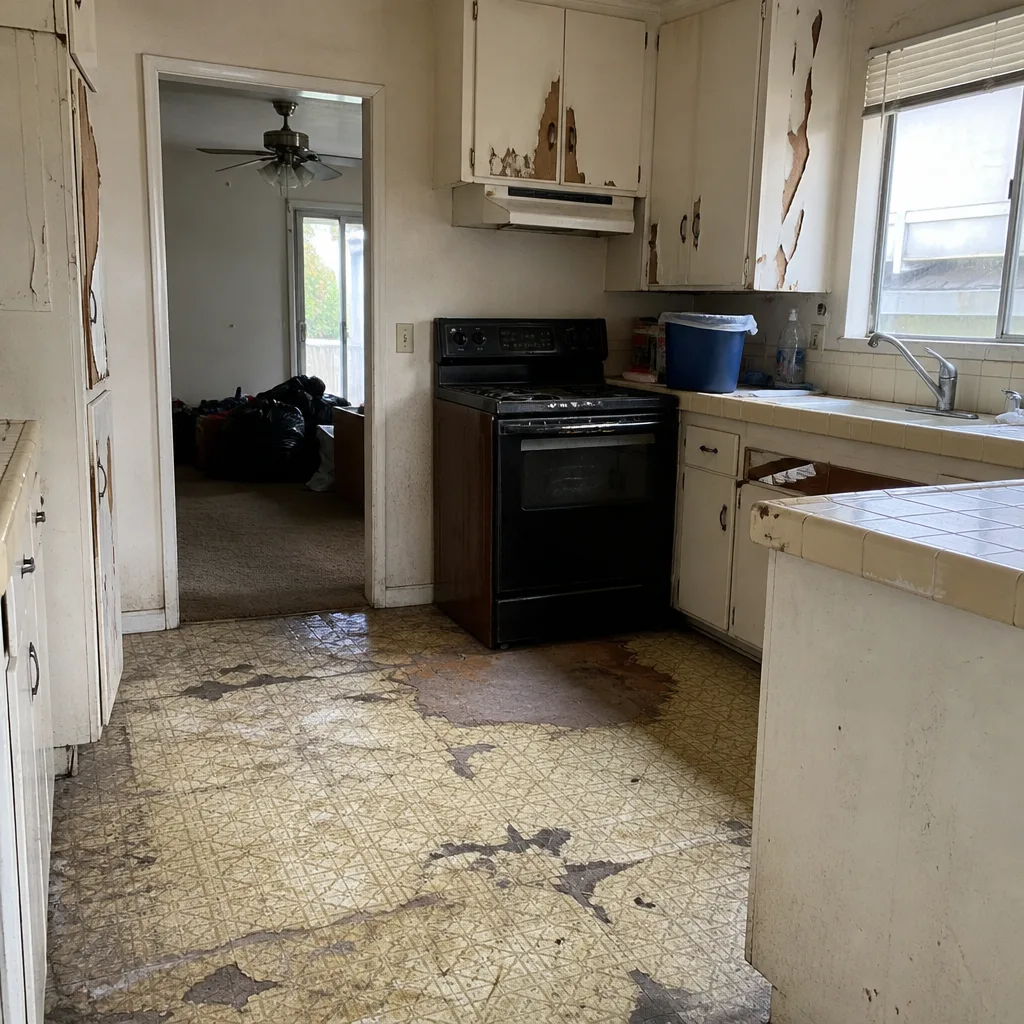 Before
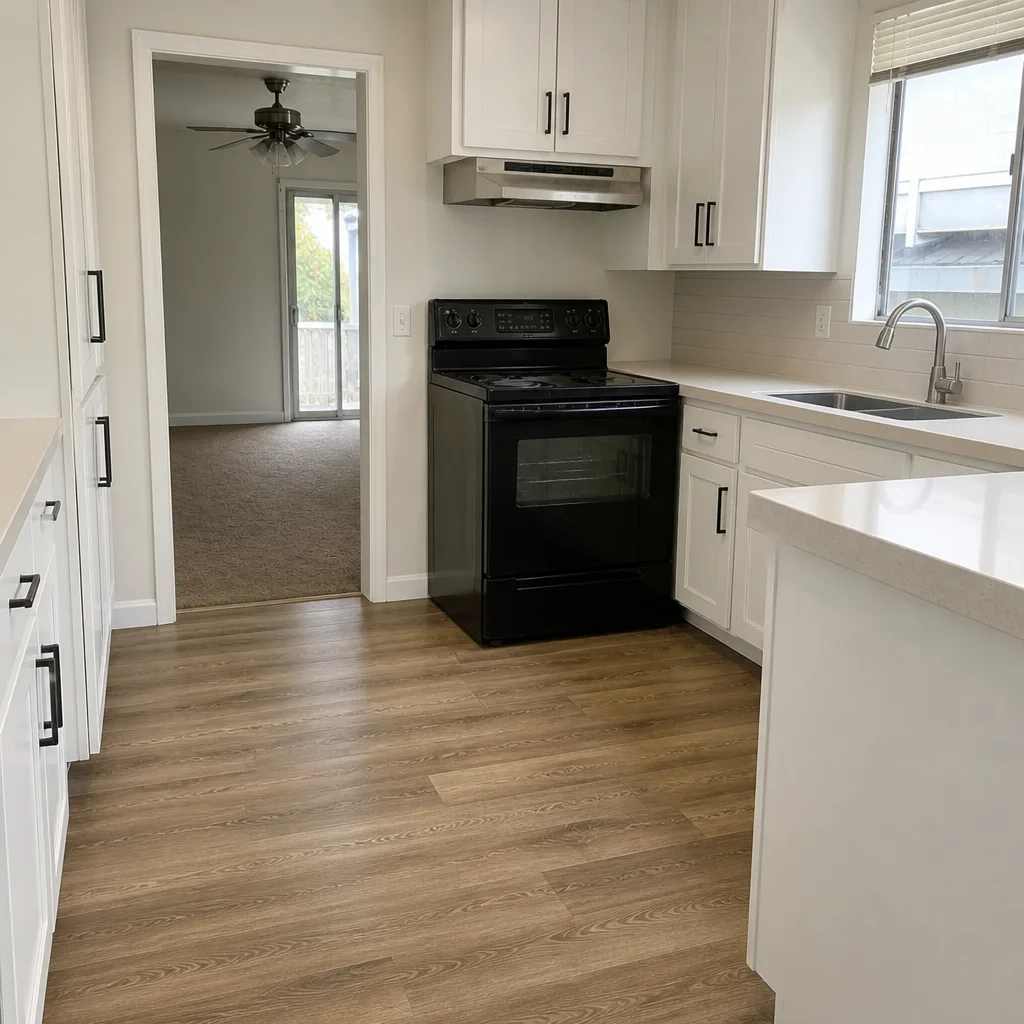 After
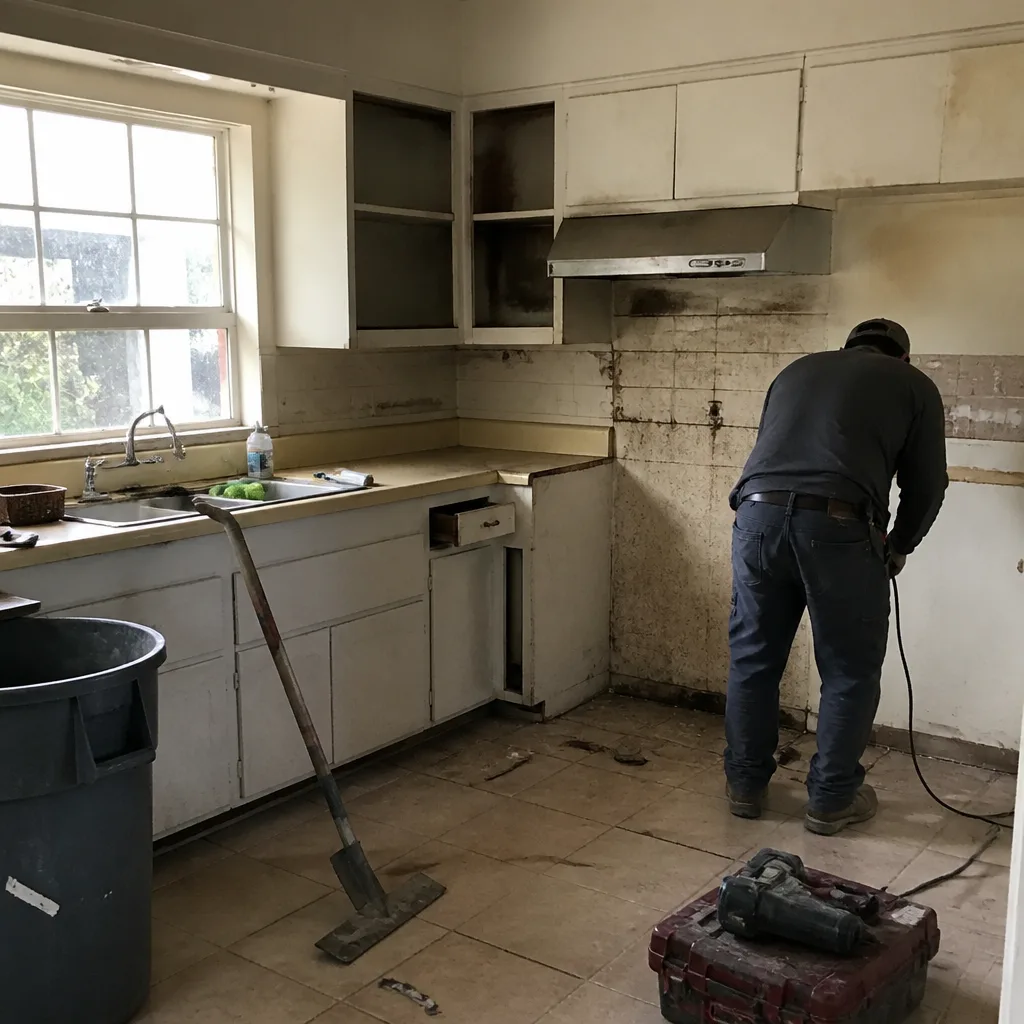 Before
 After
 Before
 After
When to Call a Professional
You call a professional when the observation turns into something you can’t fix with a tube of caulk in ten minutes. That means: any crack that’s grown past 1/16 inch in 60 days, any water staining on drywall or a ceiling, any rust bleed at a fastener on exterior trim, any door that binds after having closed cleanly, and any flashing detail you can’t fully see and fully dry. Those are the cases where a trained eye saves you a five-figure repair. Structural movement, roof-to-wall flashing, and any electrical or gas work connected to the original remodel belong in a professional’s hands, not yours. Don’t climb a wet roof in January to check a skylight. Don’t open a panel to chase a GFCI fault. Bradford Remodeling Co Costa Mesa offers free estimates in Costa Mesa and will walk the checklist with you. Call (855) 659-2556, and a live person answers whether it’s Tuesday at 10 a.m. or Sunday night.
Frequently Asked Questions

Monthly for the first six months, then at the 6-month and 12-month marks, then seasonally after that. The first year is when most workmanship defects surface and when your workmanship warranty is still active. A 10-minute walk with a flashlight and a phone camera is enough for the monthly checks.
Normal settlement cracks are cosmetic and under 1/16 inch, typically vertical or diagonal at the corners of door and window openings. Serious movement is 1/8 inch or wider, grows more than 1/16 inch in 60 days, or runs horizontally across a foundation wall or stair-steps through brick. Measure it, date it, and photograph it, then call (855) 659-2556 if it’s in the “serious” column.
Usually, yes. Most remodelers write a 12-month workmanship warranty, and the 365-Day Done Right Promise is a full-year written guarantee that follows the same clock. That’s why the 12-month inspection matters: it’s the last chance to report a defect while the contractor is still on the hook for the correction at no cost. Call (855) 659-2556 for an exact scope on your warranty if you’re not sure what’s covered.
Many are, but with conditions. Roofing shingle warranties from GAF, CertainTeed and Owens Corning are usually transferable once within a set window. HVAC equipment warranties generally transfer; labor warranties usually don’t unless the contractor wrote it that way. Kohler and Moen fixture warranties mostly follow the fixture, not the owner. James Hardie siding and Therma-Tru doors are commonly transferable with the original install documentation. The rule: if you can’t produce the spec sheet and install record, the transfer usually fails.
It accelerates corrosion on any metal fastener that isn’t stainless or hot-dip galvanized, and it oxidizes flashing faster than inland. Walk the ocean-facing side of the house every spring: look for rust streaks below screw and nail heads, chalky residue on flashing laps, and bubbling paint at the bottom edges of exterior doors. Twice-yearly washing of siding and trim strips the salt film and stretches the finish life.
Sometimes, yes. Caulk, grout and paint repairs don’t require a permit. Structural repairs to a header, roof flashing replacement, and any change to the electrical or plumbing rough-in usually do. In Costa Mesa, our rule of thumb is simple: if the fix touches structure, flashing or a system rough-in, pull the permit and pass the inspection. It’s a line-item in the written quote before work starts, not a surprise at close.
The Bottom Line
A remodel doesn’t end when the crew leaves. It starts a maintenance clock on every system they built, wired, plumbed and flashed. Inspect monthly for the first six months, hit the 30-day, 6-month and 12-month touchpoints with your contractor while the workmanship warranty is still live, measure any crack rather than guess at it, and keep every spec sheet, receipt and signed guarantee in a binder you can actually find. Here in Costa Mesa, add a coastal walk every spring for salt corrosion on fasteners and flashing. Do that and you keep both your warranties and your remodel intact. Call (855) 659-2556 for a free estimate on any repair or follow-up work, and we’ll put the price in writing before any tool comes out.
Written by the team at Bradford Remodeling Co Costa Mesa.