Last updated November 18, 2026








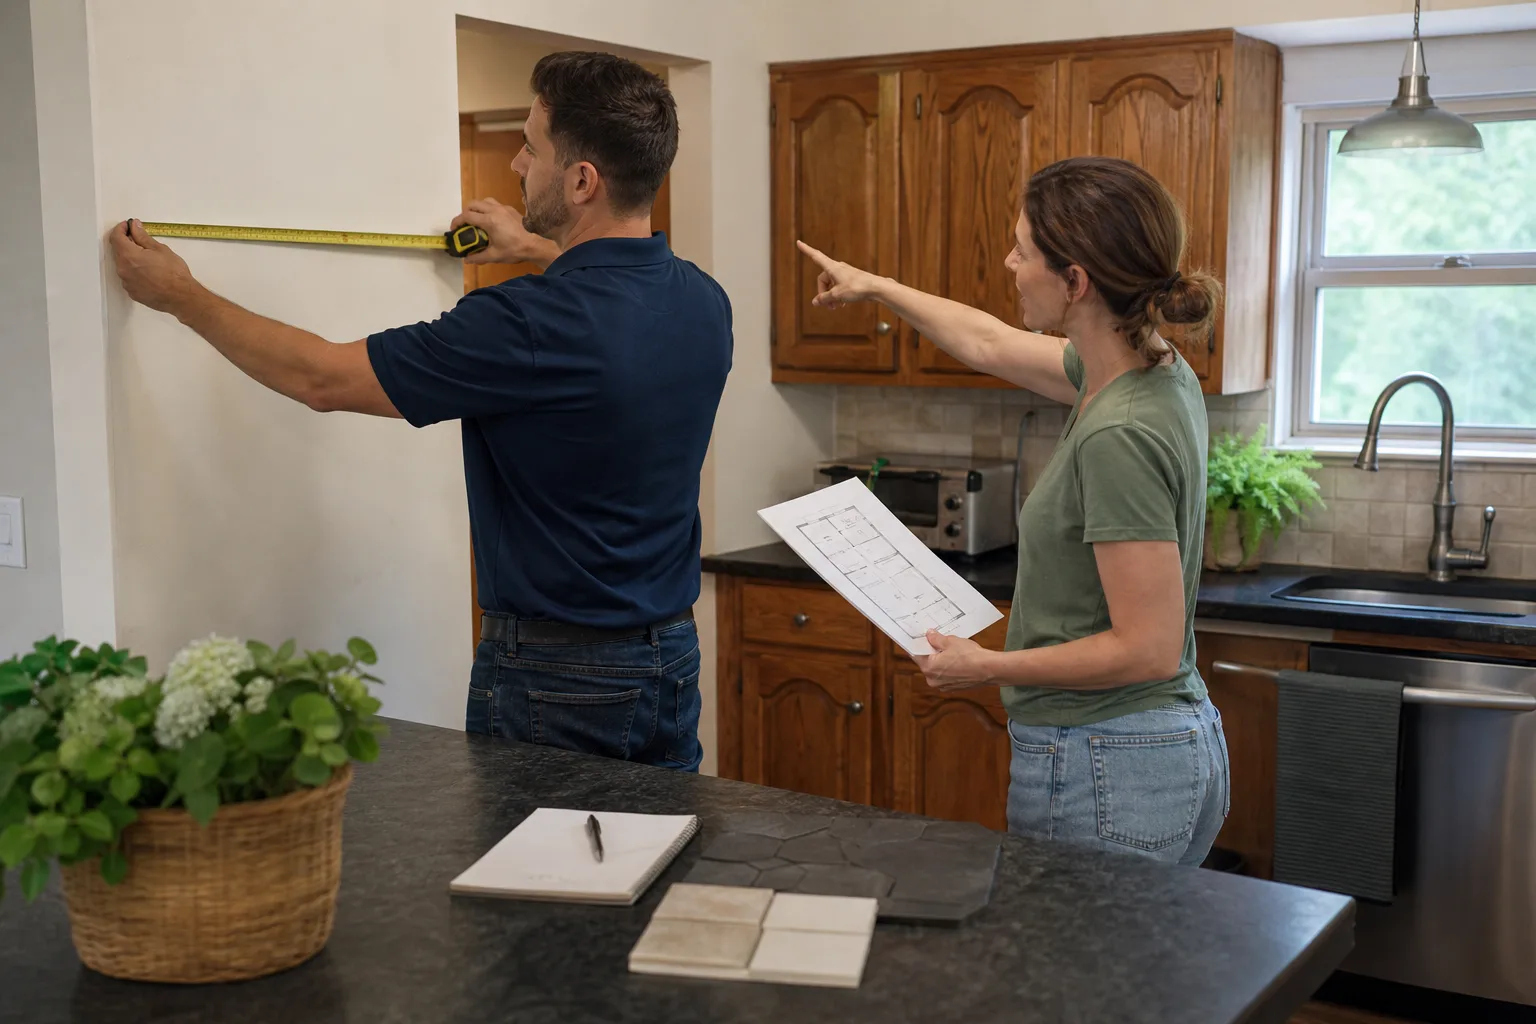
Free written scope consultation - allowances, timeline, and change-order rules on paper before a single trade is scheduled
Kitchen Remodeling Maintenance Schedule: What to Do and When
Dishwasher supply line failures are one of the top sources of sudden water damage claims in remodeled kitchens, and most of them happen within the first 18 months after install. The usual cause isn’t a bad part. It’s a braided line that got kinked when the appliance was slid into place, stressed at the fitting, and never checked again. A remodeled kitchen has a first-year maintenance window that most homeowners miss entirely: the stretch when caulk joints cure and settle, cabinet hardware works loose, and appliance connections can still be verified before they turn into an insurance claim. This guide lays out exactly what to check at 30 days, 90 days, and 12 months, plus the annual habits that keep a Costa Mesa kitchen holding up in coastal air.
Quick Answer
A remodeled kitchen needs a hands-on inspection at 30 days, 90 days, and 12 months, then an annual routine after that. Check caulk and grout lines, tighten cabinet hardware, verify appliance and supply connections, and reseal grout every 12 to 24 months depending on grout type. Most of this takes under an hour per visit and prevents the failures that show up as water damage or loose cabinets two years later.
Styles & brands we work with
- Kitchen remodeling
- Bathroom remodeling
- Home additions & ADU
- Roofing
- Windows & doors
- Driveway & pavers
- Fence
Table of Contents
- The First-Year Maintenance Window: Why It Matters
- The 30-Day Inspection Checklist
- The 90-Day Inspection Checklist
- The 12-Month Inspection Checklist
- Caring for Cabinet Finishes by Material Type
- The Annual Under-Sink Inspection
- Re-Tensioning Soft-Close Hinges and Drawer Slides Yourself
- Grout Sealing in Costa Mesa’s Coastal Environment
The First-Year Maintenance Window: Why It Matters
A new kitchen is not a finished product that stays finished. It’s a system of materials that are still settling into each other. Wood framing dries and shifts slightly as it acclimates to your home’s humidity. Caulk shrinks as it cures. Cabinet doors that hung perfectly on install day can swing a few millimeters off plumb by week six simply because the hinges seated into the wood. None of that is a defect. It’s normal movement, and it’s exactly why the first year needs attention.
In Costa Mesa, the marine layer adds a wrinkle. Our coastal air pushes indoor humidity higher than inland cities, which means wood cabinets and trim expand and contract more across a year. A cabinet painted in a dry inland shop then installed near the coast will move as it adjusts. We’ve seen painted doors develop hairline cracks at the joint seams within three months for that reason alone, and it’s the kind of thing you catch early and fix cheaply rather than discovering it as a peeling edge two years in.
The failure pattern is consistent. The items that fail in a remodeled kitchen almost always fail in the first 18 months, and they fail quietly. A supply line weeps behind a cabinet where nobody looks. A disposal mount loosens and vibrates until the flange seal gives. Grout in a shower-adjacent backsplash absorbs water because it was never sealed after the thin-set cured. Each of these has a cheap fix if you find it at 90 days and an expensive one if you find it at year three.
This is also where a written guarantee earns its keep. Every Bradford Remodeling Co Costa Mesa kitchen carries the 365-Day Done Right Promise: if the work fails inside that first year, we come back and correct it at no charge. But that promise only helps if you know what to look for. The schedule below is how you do your part.
The 30-Day Inspection Checklist
One month in, the kitchen has had time to settle but not enough time for a slow leak to do damage. This visit is about catching the early settling signs. Set aside 30 minutes and work through this in order:
- Open and close every cabinet door and drawer. Listen and feel. A door that rubs, clicks, or swings open on its own usually means a hinge screw has backed out or the hinge needs a quarter-turn of adjustment.
- Check caulk at the backsplash-to-counter joint. Run a fingertip along the seam. If it feels tacky or you see a gap opening at either end, it’s still curing or it shrank. Note where.
- Look at the sink and disposal area. Run the disposal for 15 seconds and watch underneath. Any wobble at the mount or drip at the drain basket gets flagged now.
- Inspect the dishwasher connection. Pull the unit forward if the install allows, or look through the access panel. Confirm the braided supply line is not kinked or pinched against the cabinet wall. This is the single most important check on the list.
- Test the range hood and any under-cabinet lighting. Confirm nothing vibrates loose.
- Check the grout on any new tile. Look for pinholes or cracks, especially at inside corners where movement shows first.
Write down what you find even if it seems minor. A list in hand makes a warranty conversation simple. In Costa Mesa, the 30-day visit is also a good time to run a dehumidifier briefly if the kitchen feels damp; that’s a coastal-climate habit that helps new caulk and paint cure evenly.
The 90-Day Inspection Checklist
By the three-month mark, most of the settling has happened. This is when you find the real issues. Work through these:
- Re-check every caulk joint. Backsplash, sink perimeter, and any seam where the counter meets a wall. If a joint has opened more than a hairline, it needs recaulking, not more caulk on top.
- Test all soft-close hinges. Push a door gently closed. If it slams the last inch instead of easing, the damping mechanism has worked loose or the hinge needs adjustment. We walk through the fix below.
- Look at the cabinet finish. Any new chipping at door edges, bubbling near the range, or peeling along seams deserves a note and a call to whoever holds the warranty.
- Inspect the dishwasher and ice maker lines again. Check for moisture, mineral crusting, or fraying at the fitting. A dry white residue around a fitting often means a slow weep that evaporates between uses.
- Examine the grout and look for hairline cracks. Cracks in grout are movement, not failure, but they let water in. They get sealed or regrouted.
- Check the range hood filter and the vent flap outside. Confirm the exterior flap opens and closes freely.
The 90-day visit is where we see the most preventable problems. A dishwasher line kinked at install tends to show moisture at the 90-day check because it’s been under pressure for three months by then. Caught here, it’s a five-minute line swap. Missed, it’s a cabinet base and a subfloor. If your project is still inside its first year and something on this list fails, that’s exactly what the written guarantee is for. Call us and we’ll come look.
The 12-Month Inspection Checklist
The one-year visit is the transition from “new kitchen” to “maintained kitchen.” From here on, you repeat this annual routine every year. Do it once, in the same month each year, and it becomes habit.
- Do a full under-sink inspection. Details in the section below, but this is the non-negotiable annual item.
- Check every cabinet hinge and drawer slide screw. Tighten anything loose. Loose screws are the number one cause of a door that stops closing flush.
- Test your grout sealant. The water-bead test below tells you whether to reseal this year or wait.
- Recaulk any joint that shows a gap. Sink perimeter, backsplash-to-counter, and any wall seam.
- Inspect the range hood vent and clean or replace the filter. A clogged filter works the hood harder and lets grease build up on the cabinet faces above the range.
- Check the finish on cabinet fronts. Look for wear at high-touch spots like the most-used door edges and drawer pulls.
- Look at the appliance connections one more time. Dishwasher, ice maker, and any plumbed coffee system.
- Check the lighting and outlets for loose plates or flickering. Loose plates are cosmetic; flickering on a dedicated appliance circuit is worth an electrician’s look.
At year one, the structure of the kitchen is stable. What remains is upkeep. That’s a much easier job than the first year.
Caring for Cabinet Finishes by Material Type
The wrong cleaner can void a cabinet manufacturer’s warranty, and most homeowners don’t know which cleaner is wrong for their finish. Here’s how it breaks down by material, using the brands we install and specify in Costa Mesa kitchens, including KraftMaid and Wellborn cabinetry.
Painted MDF
Painted MDF doors are common and hold up well, but they’re sensitive to standing water and harsh chemicals. Wipe with a damp cloth and a drop of mild dish soap. Never use abrasive pads, bleach-based sprays, or citrus degreasers on painted MDF. Crews we work with see bubbling and peeling where a harsh spray was used over time. Avoid soaking the door bottom where water can wick into the MDF edge.
Thermofoil
Thermofoil is a vinyl film over a core, and it’s durable but heat-sensitive. Keep cleaning products away from the sealed edges and never use a steam cleaner or place a hot pan close to a thermofoil door. For cleaning, a damp cloth with mild soap is all it needs. If the film starts to lift at an edge, note it and call; lifting film is a manufacturing issue, not a cleaning one, and it’s worth raising inside the guarantee window.
Wood Veneer
Wood veneer should get a finish-appropriate wood cleaner, not a general-purpose spray. Wipe in the direction of the grain with a damp cloth, dry immediately, and avoid anything that leaves a residue that traps dust. In Costa Mesa’s humid months, keep the kitchen ventilated so the veneer doesn’t swell at the seams. A coat of quality furniture polish every six to twelve months helps, applied sparingly.
Whichever finish you have, keep two rules. Test any new cleaner on an inconspicuous spot first, and read the cabinet manufacturer’s care sheet before you buy a product. If you don’t have the care sheet, we can point you to the right one.
The Annual Under-Sink Inspection
The under-sink cabinet is where most kitchen water damage starts, and it’s the one area nobody looks at until there’s a smell or a puddle. Do this check every year without fail.
Start by clearing everything out. With a flashlight, inspect four things:
- Supply lines. Look at the braided lines connecting your faucet and any plumbed appliance. Run a finger along each line and check for moisture, dark spots, fraying, or crusty mineral build-up at the fittings. A slow weep leaves a white or greenish residue that dries between uses.
- Drain connections. Check the P-trap and the slip joints for drips. Put a dry paper towel under the trap, run the faucet for a minute, and check the towel. Moisture means a loose slip nut or a worn washer.
- Disposal mount. Run the disposal and watch the mounting flange. Any wobble, or a drip at the flange seal, is early failure. A disposal that vibrates loose can crack the flange and leak into the cabinet floor.
- Cabinet floor and baseboard. Look for staining, soft spots, or a musty smell in the cabinet base. Soft wood or a raised cabinet floor edge is water that got in and stayed.
The braided-line check is the one that matters most for the reason we opened with. A kinked line at install stresses at the fitting, and that stress shows up as a weep first, not a burst. Catching the weep on an annual check is cheap. Catching it after a cabinet base softens is not. In older Costa Mesa homes where under-sink cabinets are close to the slab or a crawlspace, moisture hangs around longer and the stakes are higher.
Re-Tensioning Soft-Close Hinges and Drawer Slides Yourself
Two adjustments fix most sagging or slamming cabinet doors, and you can do both with a Phillips screwdriver and two minutes. No cabinet company needed.
Drawer slide tension. Most soft-close drawer slides have a small hidden adjustment wheel or tab on the underside of the slide, near the front. Turn it a quarter-turn at a time and test the drawer’s close. If your slide doesn’t have an adjustment, an occasional drop of silicone-based lubricant on the slide track restores the glide.
Hinge tension and door alignment. Concealed soft-close hinges have small adjustment screws on the hinge body, one for the door’s left-right position and one for in-out depth. Before you touch those, tighten the mounting screws first, because a loose hinge mount causes more misalignment than a bent hinge. Then:
- Open the door and find the side adjustment screw on the cabinet side of the hinge.
- Turn it a quarter-turn toward the side you need the door to move.
- Close the door and check the gap against the next door.
- Repeat a quarter-turn at a time until the reveal is even.
- If a door slams instead of easing closed, check that the hinge’s damping paddle isn’t loose or broken. If it’s broken, that’s a replacement hinge, not an adjustment.
If a door still won’t close flush after screwing and adjusting, stop there. That’s either a warped door or a hinge that needs replacement, and that’s a warranty conversation, not a homeowner fix. The kitchen remodeling in Costa Mesa work we do is backed by the 365-Day Done Right Promise precisely so you don’t have to guess whether it’s you or the door.
Grout Sealing in Costa Mesa’s Coastal Environment
Grout sealing is not a once-and-done task. It’s a schedule, and in a coastal city the schedule runs faster than inland. Here’s the frequency by grout type:
- Cementitious grout (the standard sanded or unsanded type): reseal every 12 to 18 months. Near a sink or in a high-moisture kitchen, lean toward 12.
- Epoxy grout: epoxy is far less porous and typically doesn’t need sealing at all, but check the manufacturer’s recommendation. Even epoxy benefits from a check-in every few years.
- Backsplash grout near the range: gets more heat and grease, so inspect it more often and reseal on the shorter end of the range.
Costa Mesa’s marine layer pushes indoor ambient humidity up, and grout holds moisture longer, which breaks down sealant faster. That’s why we tell Costa Mesa homeowners to test yearly instead of resealing blindly on a timer.
Here’s how to test whether the sealant is still active:
- Drip a small amount of water onto a grout line in a spot that gets little traffic.
- Watch for 30 seconds. If the water beads up and sits on the surface, the seal is holding.
- If the water darkens the grout and soaks in, the seal is gone. Reseal after cleaning and drying the surface.
Seal on a dry day after the grout is fully clean and dry. In a coastal home, that means giving it extra dry time, sometimes a full day, before the sealant goes on. Sealing over moisture traps it in.
Common Mistakes to Avoid
- Skipping the 30-day check entirely. Most homeowners wait until something breaks. The 30-day visit is the cheapest insurance you’ll ever take on a new kitchen.
- Using the wrong cleaner on cabinet finishes. A citrus degreaser on painted MDF or bleach on thermofoil can dull or bubble the finish and quietly void the warranty. Read the care sheet before the first sponge.
- Cramming the dishwasher back in without checking the supply line. A kinked braided line is the leading cause of under-kitchen water damage, and it’s preventable with one look at install and one look at 90 days.
- Resealing grout over a damp surface. In Costa Mesa, humidity means the grout needs longer drying time before sealing. Seal it wet and you trap moisture that eats the sealant from underneath.
- Ignoring a slow drip because “it’s just a drip.” Under a sink, a drip becomes soft cabinet floor, then mold, then a subfloor repair. Catch it on the annual check.
- Over-tightening cabinet screws. A quarter-turn past snug strips the hole, and a stripped screw won’t hold a hinge at all. Snug, then stop.
- Waiting past the first year to raise a defect. If something fails inside the guarantee window, raise it then. The 365-Day Done Right Promise covers failures within the first year, and a documented issue now is a fix at no charge later.
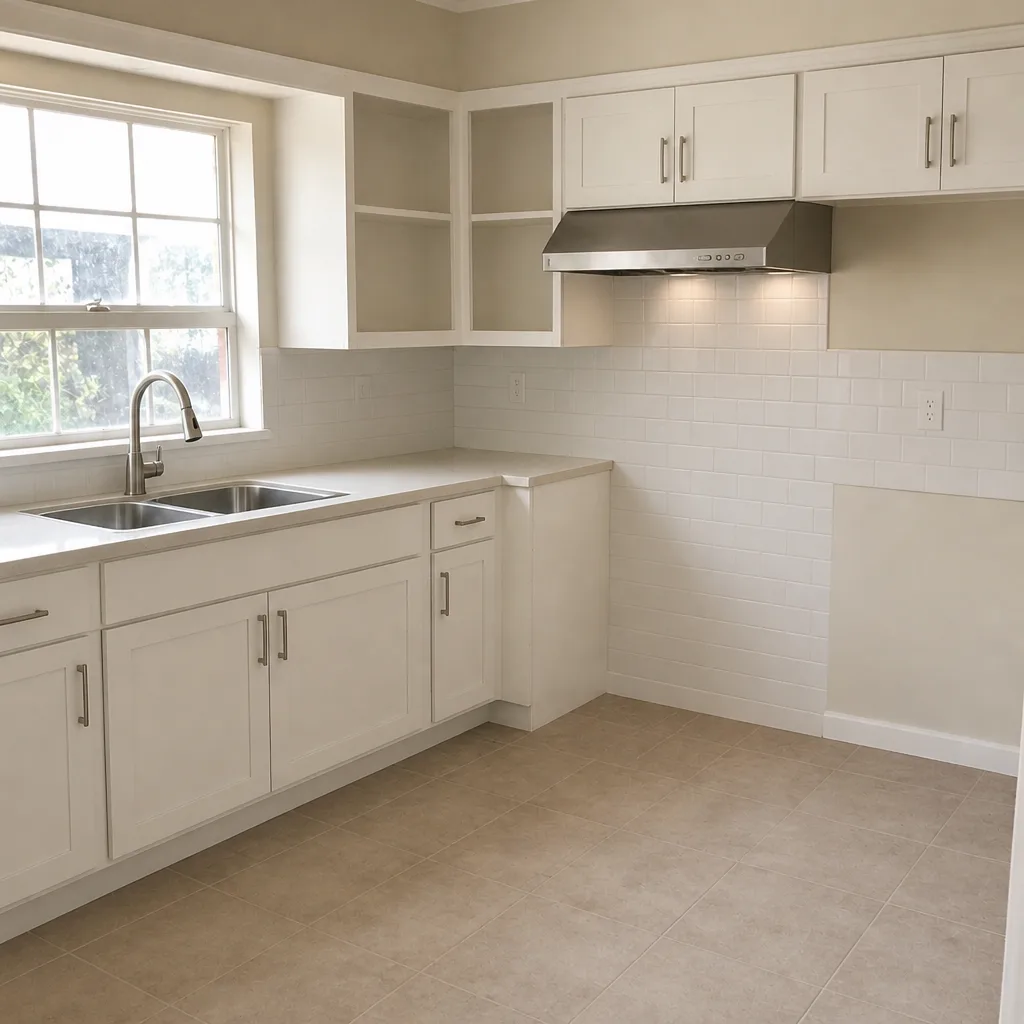
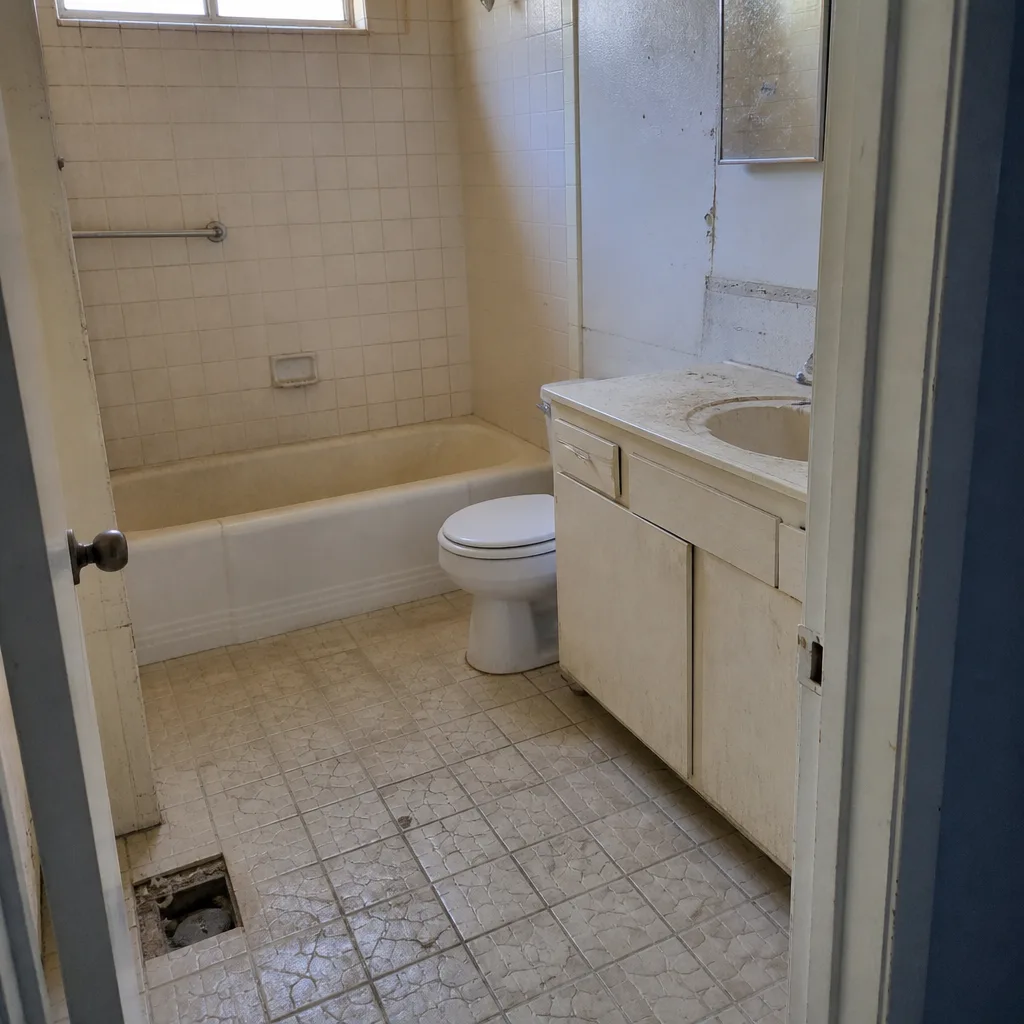
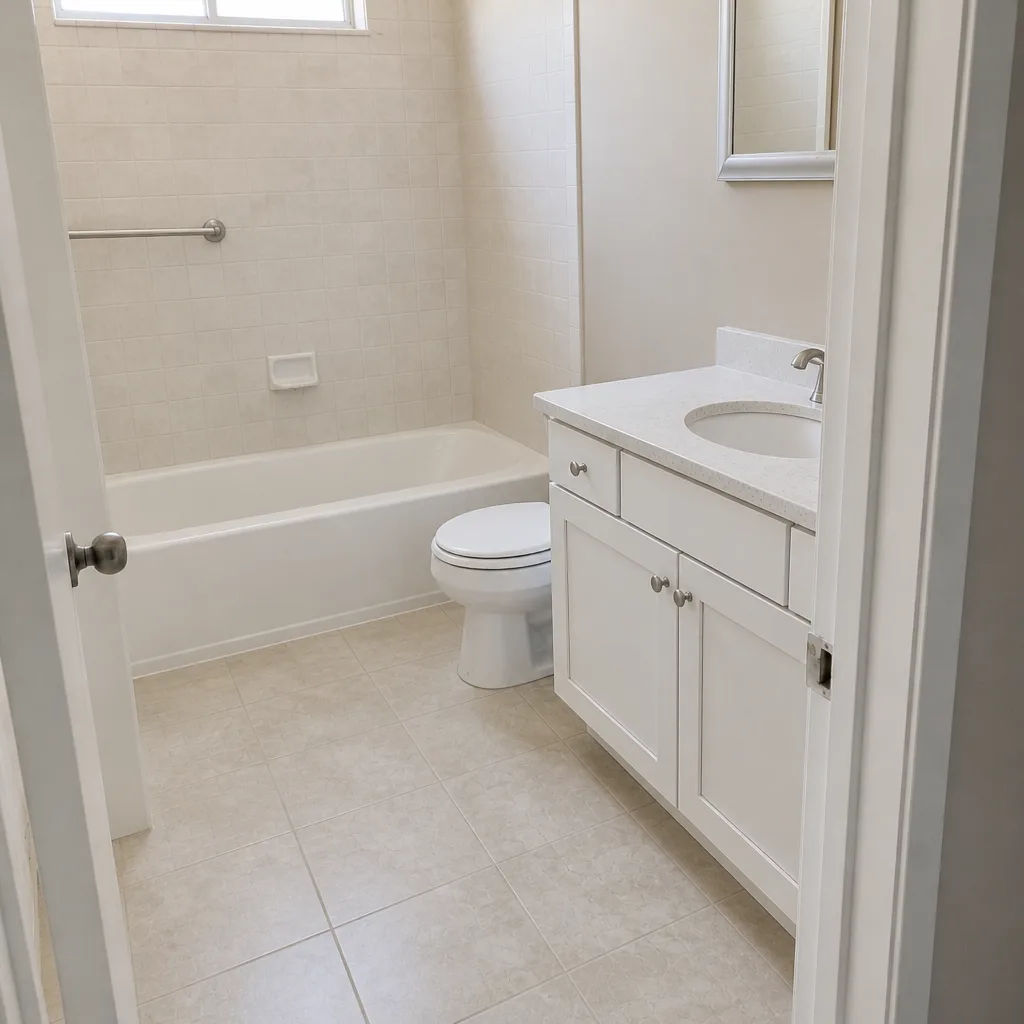
See the difference
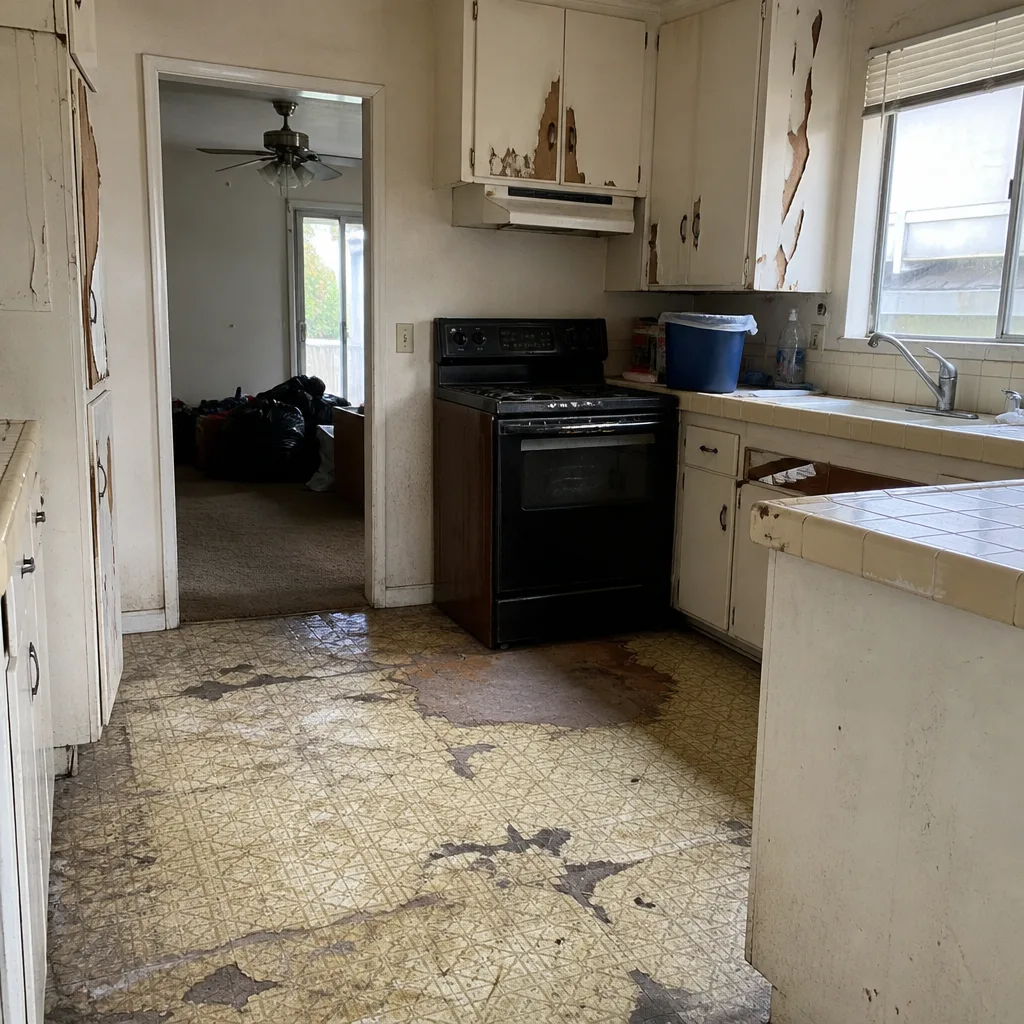 Before
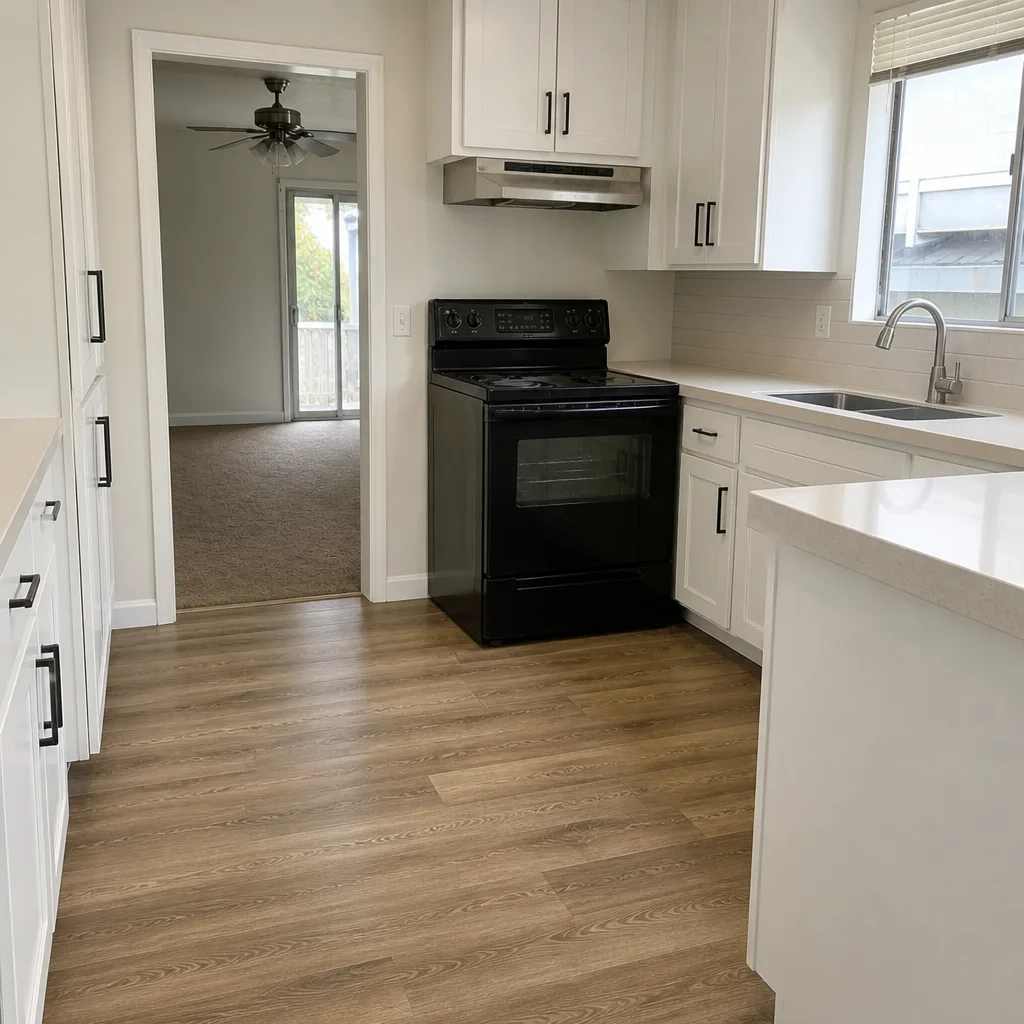 After
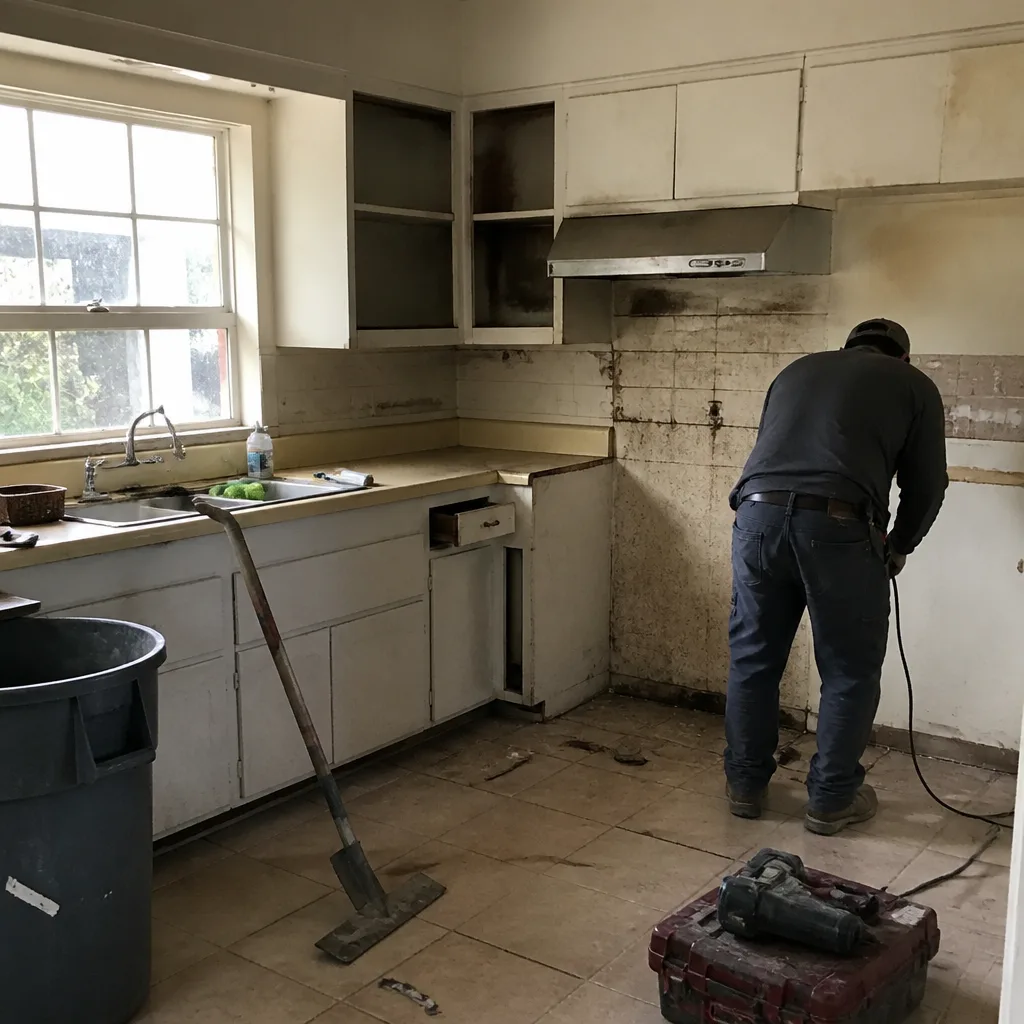 Before
 After
 Before
 After
When to Call a Professional
Most of this schedule is homeowner work. A few things aren’t. Call us when water is coming from somewhere you can’t see, like inside a wall or behind a cabinet. Call when a cabinet face is bubbling, peeling, or lifting at the edges, since that’s a material or installation issue, not a cleaning one. Call when soft-close hinges won’t adjust back into line, when a door is visibly warped, or when the dishwasher connection looks stressed or weeping. Call when soft spots show up in the cabinet floor or a cabinet base smells musty. Those are signs of a water problem that has already started. For anything involving the electrical work on the appliance circuits behind the kitchen, don’t go in yourself; that’s a licensed trade, full stop. Our technicians have up to 22 years of experience, and they’ll tell you straight whether something is your fix or ours.
Bradford Remodeling Co Costa Mesa offers free estimates in Costa Mesa. Call (855) 659-2556 and a live person will pick up, any hour, to talk through what you’re seeing.
Frequently Asked Questions

A new kitchen should be inspected at 30 days, 90 days, and 12 months, then annually after that. The first year is when caulk cures, cabinets settle, and appliance connections can be checked before a small issue becomes a water damage claim. The 30-day and 90-day visits catch the things that only show up after install.
Dishwasher supply line failures are the most common, and most happen within 18 months of install when the braided line was kinked during installation. The cause is rarely a bad part. It’s stress at the fitting that shows up as a slow weep, then a flooded cabinet base. Check the line at install and at your 90-day inspection.
Drip a little water on a grout line and watch for 30 seconds. If it beads on top, the seal is still active; if it darkens and soaks in, reseal. In Costa Mesa’s humid coastal air, cementitious grout generally needs resealing every 12 to 18 months, and yearly testing is the reliable way to know rather than guessing on a schedule.
Yes. Most soft-close hinges have one or two adjustment screws, and most drawer slides have a small tension wheel underneath. Tighten the mounting screws first, then turn the adjustment screws a quarter-turn at a time and test the close. If the door still won’t line up after adjusting, it’s a hinge or door issue that needs a warranty call.
The 365-Day Done Right Promise covers workmanship failure within the first year: if the work fails, we come back and correct it at no charge. Normal settling that needs a caulk touch-up or a hinge adjustment is homeowner upkeep, not a failure. When something genuinely fails, we handle it. Call (855) 659-2556 and a live person will answer.
Call the remodeler who holds the warranty first, especially inside the first year. Bradford Remodeling Co Costa Mesa handles the kitchens we install under the 365-Day Done Right Promise, and we work with the same documented brands we specified, including KraftMaid, Wellborn, and Cambria, so replacements match. Our team is available at (855) 659-2556 whenever something needs a look.
The Bottom Line
A kitchen doesn’t maintain itself just because it’s new. The first year is the window that matters most: caulk cures, cabinets settle, and appliance connections either hold or fail. Do the 30-day, 90-day, and 12-month checks, use the right cleaner on your cabinet finish, inspect under the sink every year, adjust your own soft-close hinges, and test your grout seal yearly in Costa Mesa’s humid coastal air. That routine turns a remodel into a kitchen that lasts. Bradford Remodeling Co Costa Mesa gives every project a written price before work starts and stands behind the result with the 365-Day Done Right Promise. If something needs a look, we’ve got a live person ready. Call (855) 659-2556 for a free estimate.
Written by the team at Bradford Remodeling Co Costa Mesa.