Last updated November 18, 2026








Free written scope consultation - allowances, timeline, and change-order rules on paper before a single trade is scheduled
Bathroom Remodeling Maintenance Schedule: What to Do and When
Silicone caulk at a tub or shower perimeter has a functional lifespan of three to five years. Most homeowners discover it failed the same way they discover a leaking roof: when the damage is already behind the wall. A remodeled bathroom isn’t a finished product you install and forget. It’s an assembled system of grout, sealant, waterproofing membrane, tile, plumbing trim, and an exhaust fan that only works if the duct behind it is clear. Treat it like a system and it lasts a decade or more. Ignore it and a ten-year remodel becomes a four-year redo. This guide gives you the actual calendar, season by season, for a bathroom in Costa Mesa’s climate.
Quick Answer
Run a light inspection monthly, re-caulk and reseal grout on a six-month to five-year cycle depending on material, clean the exhaust fan motor and duct every year, check showerhead flow and clear mineral deposits every six to twelve months, and schedule a full waterproofing review at year three and five after the remodel. The intervals are driven by material type and local water and humidity conditions, not by a universal checklist.
Styles & brands we work with
- Kitchen remodeling
- Bathroom remodeling
- Home additions & ADU
- Roofing
- Windows & doors
- Driveway & pavers
- Fence
Table of Contents
- The Four-Interval Maintenance Calendar
- Grout Sealing: Why It Isn’t an Annual Task
- Caulk: The Three-to-Five Year Window
- Exhaust Fan Maintenance and Why 80 CFM Isn’t 80 CFM
- Hard Water, Showerheads, and Valve Cartridges in Costa Mesa
- The Annual Self-Inspection Checklist
- Waterproofing: What to Check at Year Three and Five
The Four-Interval Maintenance Calendar
Think in four intervals: 30 days, six months, one year, three to five years. Each one covers different materials and catches different failures. Skipping an interval doesn’t stop the clock; it just means you find out later, usually from a contractor holding a moisture meter.
Every 30 days:
- Wipe down the shower surround with a squeegee or towel after the last shower of the day. Ten seconds.
- Run the exhaust fan for at least twenty minutes after a shower to pull the humidity out.
- Look at the caulk line at the tub or shower base. Any discoloration, peeling, or soft spot is a flag.
Every six months:
- Inspect caulk joints at the tub, shower pan, and wall corners for cracks or lifting edges.
- Check the showerhead flow rate by timing how long it takes to fill a one-gallon bucket. A weak flow usually means mineral buildup, not a bad valve.
- Clean the exhaust fan grille and inspect the fan blade for dust load.
Every year:
- Clean the exhaust fan motor housing and check the duct for blockage or disconnected flex pipe.
- Inspect tile grout lines for cracks, crumbling, or missing sections.
- Check the toilet base for movement and re-tighten or replace the wax ring if the base rocks.
- Run the annual waterproofing self-inspection outlined later in this guide.
Every three to five years:
- Re-caulk tub and shower perimeters and any interior corners.
- Reseal porous grout, or strip and reapply if the grout has darkened in traffic areas.
- Have a professional review the shower pan and wall waterproofing, especially in a walk-in shower with a tile floor.
- Inspect and, if needed, replace valve cartridges in the shower and sink faucets.
Costa Mesa’s mild coastal climate is easier on bathrooms than a desert or a cold-winter market, but it’s not forgiving. The humidity never really drops to zero, and the marine layer keeps interior bathrooms damp longer than inland homeowners expect. That’s why we set the exhaust fan inspection at twelve months, not two years.
Grout Sealing: Why It Isn’t an Annual Task
Grout sealing frequency depends on three things: the grout type, the tile porosity, and the traffic the surface sees. A blanket “reseal once a year” rule wastes money on epoxy grout and under-protects cement-based grout in a busy family shower.
Cement-based sanded grout (the default in many floor and larger-format wall installs) is porous and absorbs water. Plan on resealing every twelve to twenty-four months in a shower, every two to three years on a bathroom floor. Test it by dripping water on a grout line. If the water beads up, the sealer is still working. If it soaks in and darkens the grout, it’s time.
Cement-based unsanded grout (common on narrow joints around wall tile) is denser than sanded but still porous. Reseal every two years in a shower setting, less often on dry walls.
Epoxy grout is essentially non-porous. It doesn’t need annual sealing, and in most cases it doesn’t need sealing at all. Check with the manufacturer before applying anything; some sealers can cloud an epoxy surface.
Porcelain tile is nearly impervious and doesn’t need sealing. Natural stone (travertine, marble, slate) is a different story: it’s porous, and in a Costa Mesa bathroom it needs a penetrating sealer every twelve to eighteen months regardless of grout type.
Our technicians have up to 22 years of experience and have pulled more cracked shower floors than we’d like to count. The pattern is consistent: sealing was done once at install, then never again, and water found the substrate through the grout.
Caulk: The Three-to-Five Year Window
Caulk is the first line of defense at every wet joint. It’s also the first thing to fail. The three-to-five-year window is a functional average in a climate-controlled home; it can be shorter in a bathroom with poor ventilation or a tub that flexes underfoot.
Here’s what to look for:
- Peeling edges. If the caulk pulls away from the tile or tub at the top or bottom, water is getting behind it.
- Discoloration. Dark spots deep in the caulk line usually mean mold already started in the substrate, not just the surface.
- Softness or mushiness. Press it with a fingernail. A healthy caulk is firm and slightly rubbery. Mushy caulk has failed.
- Cracking. Any visible crack in the bead, especially a horizontal crack, needs replacement.
When you re-caulk, use 100% silicone in wet areas, not “paintable acrylic” or a blended latex. Silicone adheres better to porcelain and fiberglass and stays flexible. The job takes an afternoon for a tub or shower; don’t rush the cure time.
We’ve seen caulk fail early in Costa Mesa bathrooms where the fan was undersized or clogged, because the humidity never got pulled out. If you’re replacing caulk twice in three years, the problem probably isn’t the caulk.
Exhaust Fan Maintenance and Why 80 CFM Isn’t 80 CFM
An exhaust fan rated at 80 CFM pulls well under that through a clogged or poorly routed duct. The fan label tells you what the motor can do on a bench; the duct run in your Costa Mesa wall or attic tells you what it actually delivers.
Why it matters here: Orange County’s coastal humidity means the moisture from a ten-minute shower sits in the bathroom unless the fan removes it. A fan that moved 80 CFM when it was installed might deliver 40 CFM five years later because the grille is packed with dust, the flex duct has a sag that traps moisture, or the roof cap became home to a bird’s nest.
Annual fan maintenance:
- Kill power at the breaker before touching anything.
- Remove the grille and wash it in the sink.
- Vacuum the fan blade and motor housing with a brush attachment.
- Check the duct connection at the fan housing for a disconnected or loose flex pipe.
- If the fan is in the attic, look for crushed duct or excessive flex runs sagging between supports.
- Confirm the exterior roof cap is clear or have a professional check it.
If your fan is more than eight years old and you’re re-caulking every three years, upgrading to a stronger unit is often a better use of money than another tube of silicone. A bathroom remodel is the right moment to size the fan to the room, not just to code minimum.
Hard Water, Showerheads, and Valve Cartridges in Costa Mesa
Costa Mesa’s municipal water supply runs moderate on the hardness scale: hard enough that showerheads and valve cartridges collect scale faster than homeowners expect, not hard enough that anyone feels it on day one. The result is a slow decline in flow and a slow decline in cartridge function.
Showerhead: clear mineral deposits every six to twelve months by soaking the head in white vinegar for an hour. If the flow rate is visibly lower than it was a year ago, the deposits are the cause in most cases.
Valve cartridges (the mixing element inside a shower or sink faucet) don’t fail on a fixed schedule, but in Costa Mesa’s water they’re worth inspecting every three to five years. Symptoms: temperature swings when someone flushes a toilet, a faucet that drips when shut off, or a handle that feels stiff or loose. Pulling and replacing a cartridge is a plumbing job, not a DIY job, and it’s better to catch it before a leak starts behind the wall.
Toilet tank: check the flush valve and fill valve every year. Hard water and the chloramine blend used in Orange County both wear on rubber parts. A running toilet wastes water quietly and signals a failing flapper.
If you’re planning a bathroom remodeling project in Costa Mesa, factor these intervals into the fixture spec. Kohler and Moen trim and cartridges hold up well in this water profile.
The Annual Self-Inspection Checklist
Set aside thirty minutes once a year. You don’t need tools. You need a flashlight, a towel, and the discipline to actually look.
- Caulk lines: check every wet joint – tub perimeter, shower base, wall corners, sink backsplash. Note any peeling, cracking, or dark stains.
- Grout lines: scan the shower floor and wall tile for missing grout, cracked joints, or grout that’s visibly darker than the rest.
- Shower pan: look for water pooling after a shower. Any standing water more than a few minutes after the drain stops flowing means the slope is failing.
- Drain: run water and confirm it drains freely. Slow drains get faster to fix, not slower.
- Exhaust fan: hold a tissue to the grille with the fan on. If the tissue doesn’t stick or holds weakly, the fan or duct is clogged.
- Wall and floor around the shower: press on the wall substrate just outside the tile edge. Any soft spot, spongy feel, or bubbling paint means moisture is behind the tile.
- Toilet: rock the bowl side to side. Any movement means a bad wax ring.
- Under-sink area: check the cabinet floor for water stains or musty smell, especially around the supply lines and the P-trap.
- Ceiling below the bathroom: if there’s a room below, look for stains. A leaking shower pan or grout failure shows up there first.
Write down anything that isn’t clean. A photo on your phone makes the follow-up call much easier.
Waterproofing: What to Check at Year Three and Five
Waterproofing is the part of the bathroom you never see after the tile is set. It’s also the part that fails silently. The three-year and five-year marks are the best windows to catch problems while they’re still cosmetic.
At year three, look for:
- Grout that’s crumbling at the shower floor-to-wall transition.
- Caulk that’s failed twice in the same joint (repeat failures point to flexing substrate or moisture).
- Any efflorescence (white, chalky residue) on tile or grout – a sign of moisture moving through the assembly.
- Soft or swollen baseboard or drywall on the opposite side of a shower wall.
At year five, if you’ve noticed any of the above, a professional moisture scan is worth the cost. We’ve seen shower pans in Costa Mesa homes that were built correctly for the code at the time and still failed by year six because the weep holes at the drain clogged with soap and grout residue. That’s a maintenance issue, not a construction defect.
If the shower pan does need to come out, our general contractor team in Costa Mesa handles the tear-out, substrate repair, and re-tile under one written scope. No surprise line items.
Common Mistakes to Avoid
- Assuming “new bathroom” means “maintenance-free.” It doesn’t. Every remodeled bathroom needs the same maintenance schedule as the one it replaced.
- Resealing grout on a universal schedule. Epoxy grout doesn’t need it. Cement-based grout in a shower needs it every one to two years. Get the material type right first.
- Using paintable acrylic caulk in the shower. It will fail in a year. Use 100% silicone.
- Ignoring the exhaust fan until it dies. The fan is the cheapest part of the bathroom and the most important for water management in Costa Mesa’s coastal humidity.
- Skipping the annual self-inspection. Ninety percent of the waterproofing failures we see could have been caught with a flashlight and thirty minutes a year.
- Assuming the shower pan and the tile are the same system. They aren’t. Tile is the visible layer; the pan and membrane underneath do the water management.
- Booking a contractor who won’t put the scope in writing. If a repair turns into a re-caulk-and-reseal job and the price moves at the door, you didn’t hire a contractor. You hired a guess.
See the difference
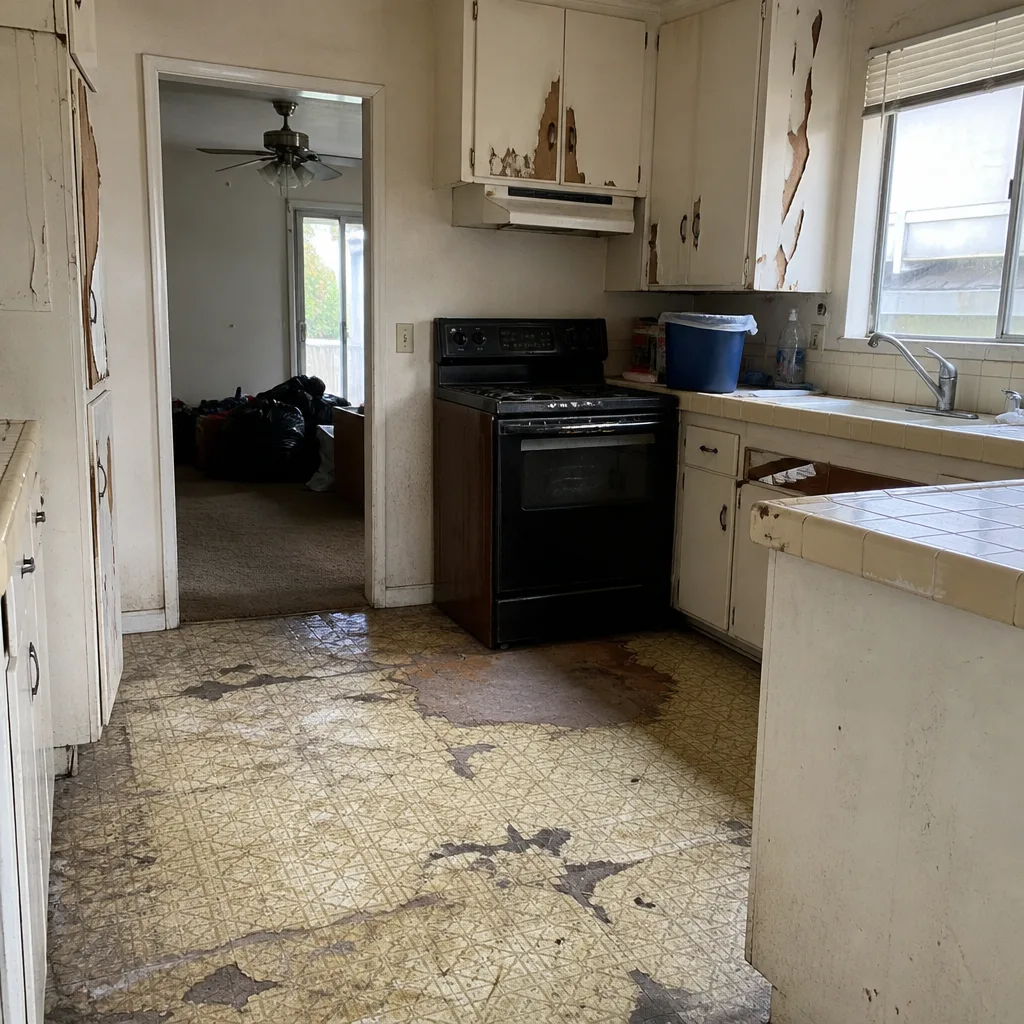 Before
 After
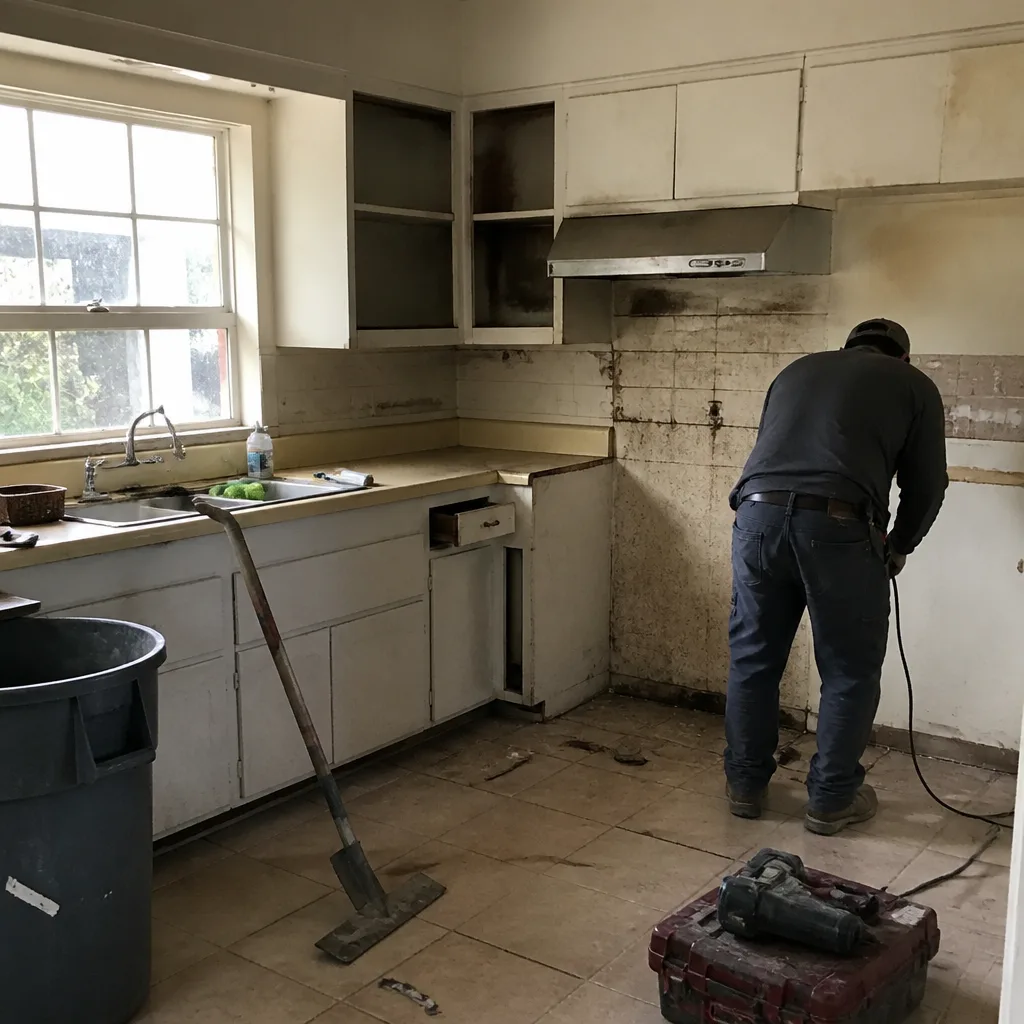 Before
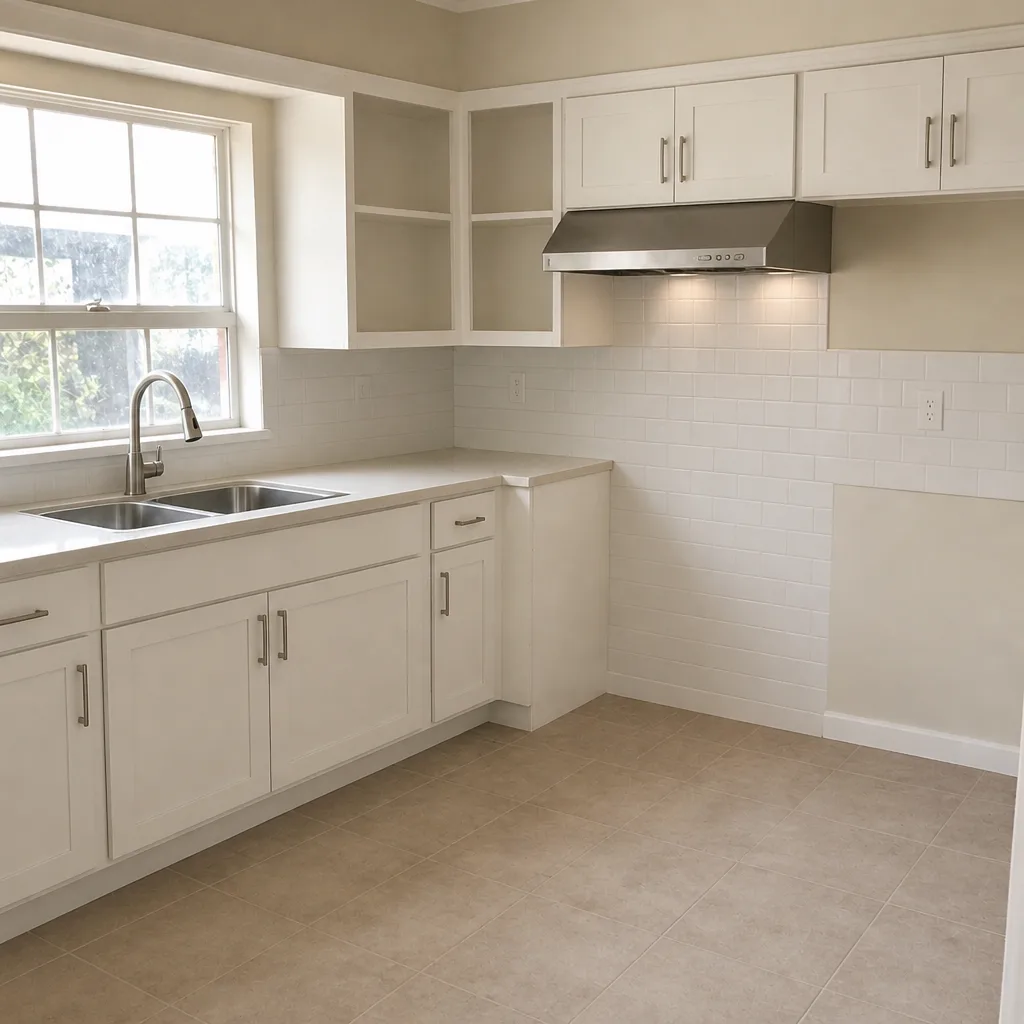 After
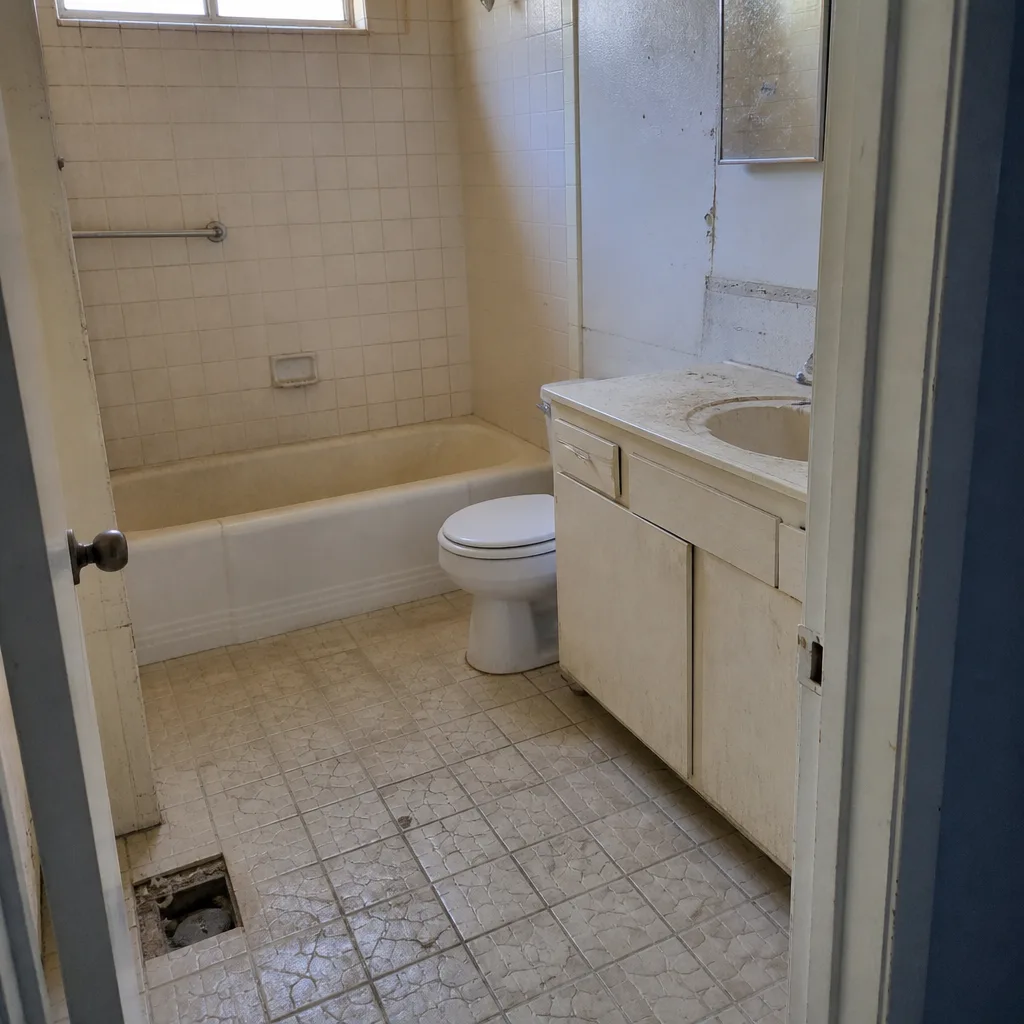 Before
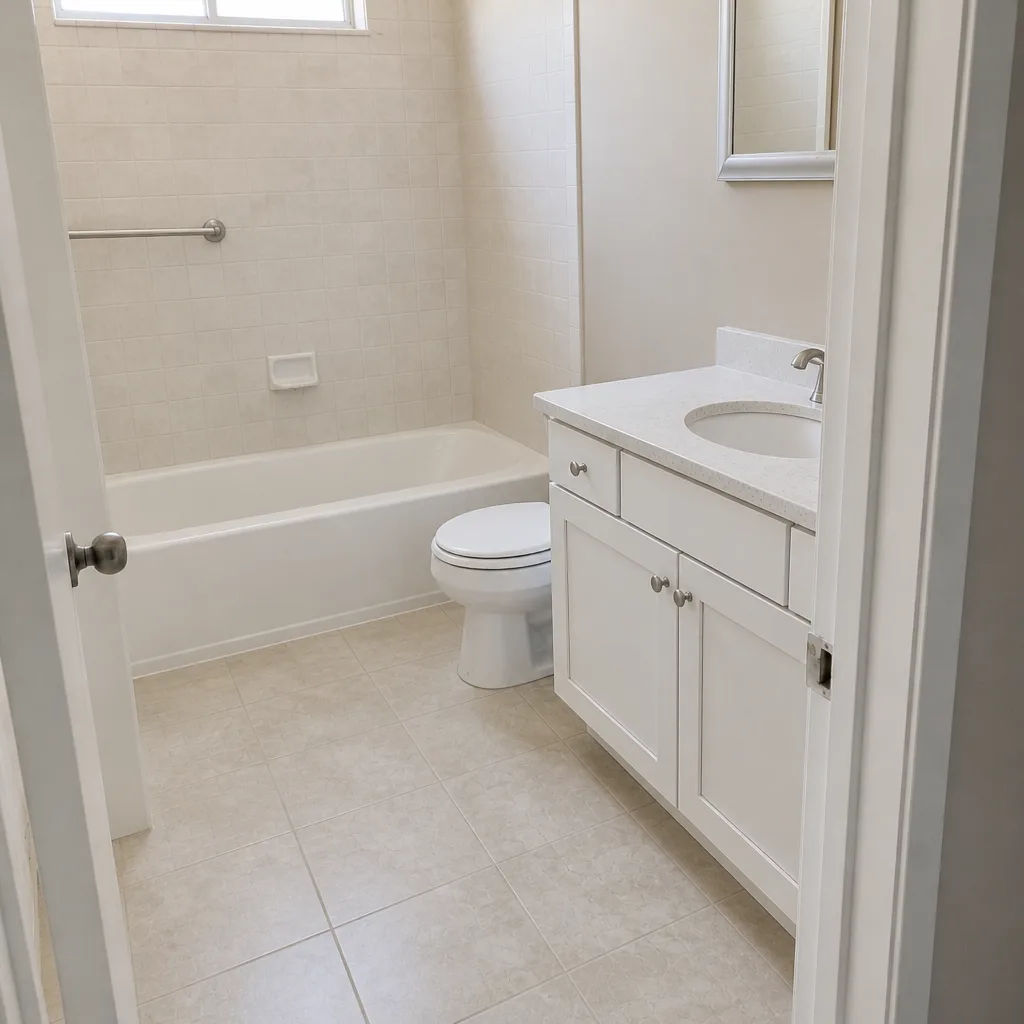 After
When to Call a Professional
Call us if any of these describe your bathroom: water stains on the ceiling below the bathroom, a soft spot on the wall just outside the shower, caulk that fails twice within three years, a shower pan that pools water, a valve cartridge that swings temperature with every toilet flush, or a shower floor that sounds hollow when tapped. Those signals point to moisture behind the tile and are past what a homeowner can fix from the surface.
Bradford Remodeling Co Costa Mesa offers free estimates in Costa Mesa – call (855) 659-2556. Every project starts with a written price before work begins, no numbers that move at the door, and background-checked technicians who arrive when we say they will. Every completed project carries the 365-Day Done Right Promise: if the work fails within that year, we come back and correct it at no charge.
Frequently Asked Questions
Every three to five years is the standard window for silicone caulk at a tub or shower perimeter. In a Costa Mesa bathroom with an undersized or clogged exhaust fan, it can fail in two years because the humidity never gets pulled out. If you’re re-caulking more often than every three years, the fan is the first thing to inspect.
No. Cement-based sanded grout in a shower needs resealing every twelve to twenty-four months; unsanded grout every two years; epoxy grout doesn’t need sealing at all. Natural stone tile needs a penetrating sealer every twelve to eighteen months regardless. Test grout by dripping water on it: if the water beads, the sealer is still working.
Hold a tissue to the grille while the fan runs. If it doesn’t stick or holds weakly, the fan isn’t pulling enough air. An 80 CFM fan with a clogged grille, sagging flex duct, or an obstructed roof cap can deliver well under half its rated flow. Clean the grille and motor housing annually and check the duct once a year.
Every six to twelve months. Costa Mesa’s municipal water runs moderate on the hardness scale, so mineral deposits build up slowly but consistently. Soak the showerhead in white vinegar for an hour to dissolve the scale. If the flow rate has dropped noticeably, that’s the cause in most cases.
Yes, within the first year. Every completed Bradford Remodeling Co Costa Mesa project carries a written guarantee for a full year from completion. If a repair or remodeled area fails within that window, we come back and correct the work at no charge. The guarantee is in writing before work starts.
Re-caulking a tub or shower perimeter is a reasonable DIY job for a careful homeowner. Grout removal, re-grouting, valve cartridge replacement, and any inspection that finds moisture behind tile are professional work. If the annual self-inspection surfaces soft spots, efflorescence, or repeat caulk failures in the same joint, call for a moisture inspection rather than trying another tube of silicone. Call (855) 659-2556 for a free estimate.
The Bottom Line
A remodeled bathroom is an installed system, not a finished surface. The pieces that matter – grout, caulk, waterproofing membrane, exhaust fan, showerhead, valve cartridges – have defined service intervals driven by material and by local water and climate conditions. Cement-based grout in Costa Mesa’s showers reseals on a one-to-two year cycle; caulk gets replaced every three to five; the fan gets cleaned every year; the waterproofing gets inspected at year three and again at year five. Run the thirty-minute annual self-inspection and most of it never escalates. Skip it and a ten-year bathroom becomes a four-year redo. If you want the work documented, priced in writing, and covered for a full year after completion, that’s the way we run every bathroom remodel – and the same discipline applies whether you’re upgrading the bath, the kitchen, or the whole home through our Costa Mesa remodeling home page.
If your self-inspection turns up something that needs a professional look, call Bradford Remodeling Co Costa Mesa at (855) 659-2556 for a free estimate. We give you a written price before any work starts, and we answer the phone with a live person 24 hours a day – not a voicemail, not a callback queue.
Written by the team at Bradford Remodeling Co Costa Mesa.