Last updated November 18, 2026








Free written scope consultation - allowances, timeline, and change-order rules on paper before a single trade is scheduled
Bathroom Remodeling Troubleshooting: Common Problems and How to Fix Them
Grout cracking within six months of a tile job almost never means bad grout. It means the substrate moved, which means the waterproofing or backer installation underneath it was wrong. That distinction matters because it tells you whether you’re looking at a $40 tube of caulk or a $4,000 tear-out. In our experience across Costa Mesa bathrooms, from 1960s tracts near Mesa Verde to newer builds off Victoria Street, most post-completion complaints trace back to one skipped or rushed installation step. This guide maps each symptom to its root cause so you know what the fix requires and, just as importantly, who owns it.
Quick Answer
Most bathroom remodel problems that appear after completion (cracking grout, slow drains, peeling paint, loose fixtures) come from a specific installation shortcut rather than normal wear. Diagnosing the symptom correctly tells you whether it’s a cosmetic repair, a code-compliance issue, or a warranty claim, and that diagnosis determines who pays to fix it.
Styles & brands we work with
- Kitchen remodeling
- Bathroom remodeling
- Home additions & ADU
- Roofing
- Windows & doors
- Driveway & pavers
- Fence
Table of Contents
- Cracking Grout and Tile: The Substrate Story
- Slow Drains: Slope, Trap Distance, and the Liner
- Peeling Paint: Vapor Barriers and Exhaust CFM
- Running Toilets: Flapper Specs and Fill Calibration
- What “Industry Standard” Means in a California Warranty
- Cosmetic Fix vs. Code-Compliance Fix
- The Documentation Protocol
- Remodel Defect vs. Pre-Existing Condition
Cracking Grout and Tile: The Substrate Story
Grout has almost no flexibility. It cracks when the surface beneath it moves, and tile installed over a proper substrate on a bathroom floor in Costa Mesa shouldn’t move. When it does, the culprit is usually one of three things: cement backer board set with too few fasteners, a wood subframe that flexes beyond the tile’s tolerance, or a skipped uncoupling membrane on a floor with deflection. Grout lines that crack in a straight line following a seam are telling you exactly where the substrate joint is. Cracks that spiderweb across the floor point to deflection.
Here’s how to read the symptom:
- Single straight crack along a grout line: usually a backer board seam that wasn’t taped and mortared, allowing the panels to move independently.
- Spiderweb cracking across multiple tiles: floor deflection. The joist structure or subfloor thickness can’t support the tile.
- Cracks along the wall-to-floor transition: normal movement, and the fix is a flexible sealant joint, not grout. Many installers grout this joint when they shouldn’t.
- Hollow sound when you tap tiles: poor mortar coverage underneath, which is an installation failure, not a material failure.
To correct substrate failure, the tile and grout come out, the substrate gets rebuilt to manufacturer spec (we work with name-brand backer systems and membranes whose installation instructions are documented), and the tile goes back down. That’s a real repair, not a grout patch. When you’re planning the work rather than fixing it, bathroom remodeling in Costa Mesa done by the book starts with the substrate and waterproofing before a single tile is set.
Slow Drains: Slope, Trap Distance, and the Liner
A shower drain that pools water around your feet, or a floor drain that backs up slightly before clearing, is usually a slope problem rather than a clog. The two failures we see most: a pre-slope that was skipped under a traditional liner (leaving water trapped between the liner and the tile bed), and a trap that sits too far from the drain opening, which violates plumbing code and slows drainage.
What to check before calling anyone:
- Remove the drain cover and shine a light down. Standing water sitting above the weepholes in a clamping ring drain means the weepholes are plugged or the pre-slope is missing.
- Time how long a full basin takes to drain. A slow drain that clears eventually is usually a venting issue, not the tile work.
- Look for grout or thinset crumbs around the drain opening. Debris from installation can clog the weepholes, and that’s an easy fix.
- If a new drain was set and the trap arm is visibly too long for the drain location, that’s a rough-in error and it needs a plumber, not a tile guy.
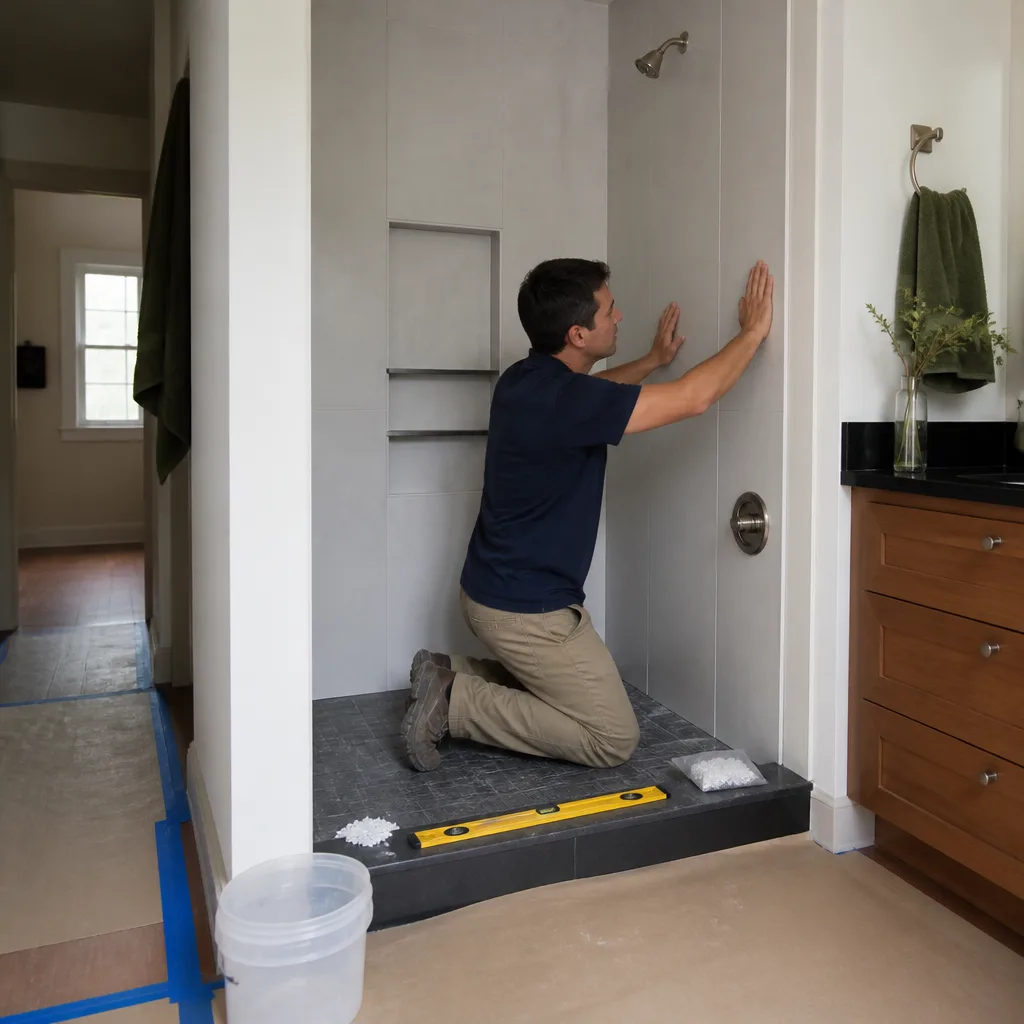
Liner failures are the ones that hurt. Water trapped under a traditional liner eventually turns the mud bed and any wood framing soft, and the fix means removing the floor tile. A surface-applied waterproofing membrane, installed to the manufacturer’s spec, eliminates the trapped-water problem. On any Costa Mesa bath where we’re replacing a pan, we verify the slope with a level and photograph it before the tile goes down. That’s part of how Bradford operates under The Garrison Standard: what’s behind the wall is documented, not assumed.
Peeling Paint: Vapor Barriers and Exhaust CFM
Paint peeling off the ceiling or upper walls of a bathroom almost always means moisture is getting behind the paint film, and the cause is either a missing vapor barrier on an exterior wall or an exhaust fan that doesn’t move enough air. The correct fan size is determined by cubic feet per minute, or CFM: the volume of air the fan moves. A bathroom’s fan should be sized to the room and typically run for 20 minutes after a shower, not shut off the moment you leave the room.
What to check:
- Fan CFM: small fans rated around 50 CFM work in a compact bath; larger bathrooms need more. A fan that barely pulls a tissue against the grille isn’t clearing the moisture.
- Duct routing: a fan that dumps into the attic instead of venting outside pushes moisture straight into the structure.
- Vapor barrier: on an exterior wall, insulation should have a vapor-retarder facing the warm side. Skip it and paint failure follows.
- Paint type: bath ceilings want a moisture-resistant formula; standard flat paint over drywall will peel regardless of ventilation.
Correcting it means fixing the ventilation first, then scraping and repainting once the wall is dry. Paint over moisture and it peels again within a season. Costa Mesa’s marine layer pushes humidity up along the coast, so a bath on the west-facing side of a home here has less drying time than an inland one. That makes fan sizing less forgiving than people expect.
Running Toilets: Flapper Specs and Fill Calibration
A toilet that runs after a flush, or that refills on its own every hour, is a flapper or fill valve problem, and the cause is often a replacement part that didn’t match the original spec. Flappers come in different sizes and materials for different tanks, and a flapper that’s slightly too large for the opening won’t seat. Fill valves likewise need calibration to the correct water level, which most toilets mark on the overflow tube.
The order of diagnosis:
- Shut off the supply valve and watch the tank water level for a few minutes. A dropping level means the flapper is leaking.
- Check the flapper for stiffness, mineral buildup, or a chain that’s too short and holding it slightly open.
- Check the fill valve shutoff height against the overflow tube. A valve set too high keeps trickling, and the toilet never fully stops.
- Confirm the flapper is the manufacturer’s specified part for that tank, not a generic replacement that only “looks close.”
A running toilet is one of the least expensive fixes in the bathroom, and it’s usually the flapper. We install Kohler and Moen fixtures with the manufacturer’s documented replacement parts, which means when the flapper finally wears out in a few years, the right part number is on record. On a new installation, a running toilet is an installation failure and the technician should return to correct it.
What “Industry Standard” Means in a California Warranty
“Industry standard” in a California warranty context is built on two layers: the California State License Board’s (CSLB) standards for workmanship, and the manufacturer’s written installation instructions for each product. When a contractor denies a warranty claim, ask which standard the work was measured against and ask for it in writing.
The layers you can use when pushing back:
- CSLB workmanship standards: describe what a reasonable professional in the trade would consider proper installation. A cracked floor over a skipped uncoupling membrane is a workmanship issue by that measure.
- Manufacturer installation instructions: name-brand product lines (we work with KraftMaid and Wellborn cabinetry, Cambria and Caesarstone surfaces, Kohler and Moen fixtures) document exactly how their products must be installed. Deviate and the warranty on the product voids.
- Your written contract: the scope, the materials, and the warranty terms you signed. If the contract says “install per manufacturer specification,” a shortcut installation is a contract failure.
- Local building code: Costa Mesa permits and inspections add a third measuring stick. An inspection that passed isn’t the same as a defect-free installation.
When a contractor says the problem is “normal movement,” the response is to ask which manufacturer’s instructions permit the failure you’re describing. Most don’t. What “squared away” looks like at close: a signed written guarantee in your hand, a documented scope, and the manufacturer’s spec sheet on file.
Cosmetic Fix vs. Code-Compliance Fix
Some post-completion problems can be corrected with a cosmetic fix. Others cannot be fixed legally without pulling a permit, even after the original permit closed. The difference matters because it changes cost, timeline, and who’s responsible.
Cosmetic fixes, done legally without a permit:
- Re-grouting a floor joint with the correct flexible sealant.
- Repainting a ceiling after correcting the ventilation.
- Replacing a leaking flapper with the manufacturer’s specified part.
Code-compliance fixes, requiring a permit to correct even after the original closed:
- Rebuilding a shower pan to correct slope or liner failure. Plumbing work under the floor requires inspection.
- Adding or relocating a drain, or correcting trap distance.
- Electrical work on a circuit feeding a fan or light, especially where GFCI protection is required.
- Structural corrections, like re-framing a floor that deflects beyond the tile’s tolerance.
If the fix touches plumbing, electrical, or structure, call your local building department before the warranty dispute escalates. A code-compliance fix is a documented process with a paper trail, and that paper trail protects you if the dispute ends up in front of CSLB or a small claims judge. A cosmetic fix is not.
The Documentation Protocol
Documenting a defect well is the difference between a warranty claim that gets corrected and one that goes nowhere. A written complaint filed with CSLB or filed in small claims court needs photos, timestamps, and a plain description of the defect in the trade’s real terms. Here’s how to build that file:
- Photograph the defect at a known scale. A coin next to a crack, a ruler against a gap, a tape measure along a slope. Photos without scale are hard to interpret later.
- Log the date on every image. Most phones timestamp automatically, but keep a written log too, in a notebook or a dated email to yourself. The timestamp on the photo ties it to the log entry.
- Describe the defect in plain trade terms. “Grout cracked along the north wall-to-floor joint in a straight line, about 3 feet long, starting eighteen months after installation” beats “the floor cracked.” Specific language is what an inspector, a CSLB investigator, or a judge will work from.
- Send the description in writing to the contractor. Email is fine. State what you’re seeing, when you first noticed it, and ask for a written response. The paper trail matters more than phone calls.
- Record dates of every visit and every repair attempt. If the contractor returns and the work fails again, the log is the proof.
That file is also what you hand to the next contractor. When we take over a failed job, the documentation is what lets us price the corrective work accurately and put the right fix in writing before any tool comes out. For homeowners who want to understand what a properly documented project looks like from the start, our general contractor in Costa Mesa page lays out how the written-price and warranty structure works on every job.
Remodel Defect vs. Pre-Existing Condition
Not every post-completion problem is the remodeler’s responsibility. Some problems were there before the work started and the remodel simply exposed or failed to address them. Knowing which is which protects you from paying for someone else’s mistake and from making a claim you can’t win.
Clear examples we’ve seen in Costa Mesa bathrooms:
- Remodel defect: grout cracking along a floor joint that was grouted rather than sealed at installation.
- Pre-existing: a shower drain that was slow for years because the original trap arm was too long. If your new install used the existing rough-in and the drain was already slow, the defect preceded the remodel.
- Remodel defect: peeling paint on a bath ceiling capped with a fan that doesn’t move enough CFM after a fresh repaint.
- Pre-existing: paint peeling because the ceiling had water damage from a roof leak that was never addressed before the repaint. The repaint didn’t cause it; it just revealed it.
- Remodel defect: a running toilet after a new installation.
- Pre-existing: a tank with mineral buildup and a slow leak that was never replaced during the project.
The cleanest way to tell is your written scope. If the item was in the documented scope and installed by the remodeler, it’s their responsibility. If it was pre-existing and the scope recommended replacement that you declined, it’s yours. The scope is your evidence either way.
Common Mistakes to Avoid
- Grouting a wall-to-floor transition. Movement at that joint is normal, and the correct joint is a flexible sealant, not grout. Grouting it guarantees a crack within a year.
- Skipping the pre-slope under a traditional liner. Water ends up trapped between the liner and the tile bed, which softens the mud bed and framing. In Costa Mesa’s humidity, that failure shows up faster than most homeowners expect.
- Sizing the exhaust fan by looks rather than CFM. A decorative fan that moves too little air leaves moisture on the walls and ceiling. Check the CFM rating before you buy.
- Replacing a flapper with a generic part. The wrong-size flapper won’t seat, and you’ll be chasing a running toilet that never quite stops.
- Assuming a passed inspection means a defect-free job. Inspections check code compliance; they don’t check substrate prep, slope verification, or installation quality.
- Accepting a verbal warranty. If it isn’t in writing, it doesn’t exist. The Garrison Standard is exactly this: every price and every guarantee in writing before work starts.
- Skipping the documentation the day you notice the problem. Photos at a scale, a dated log, and a written email are what make a warranty claim enforceable.
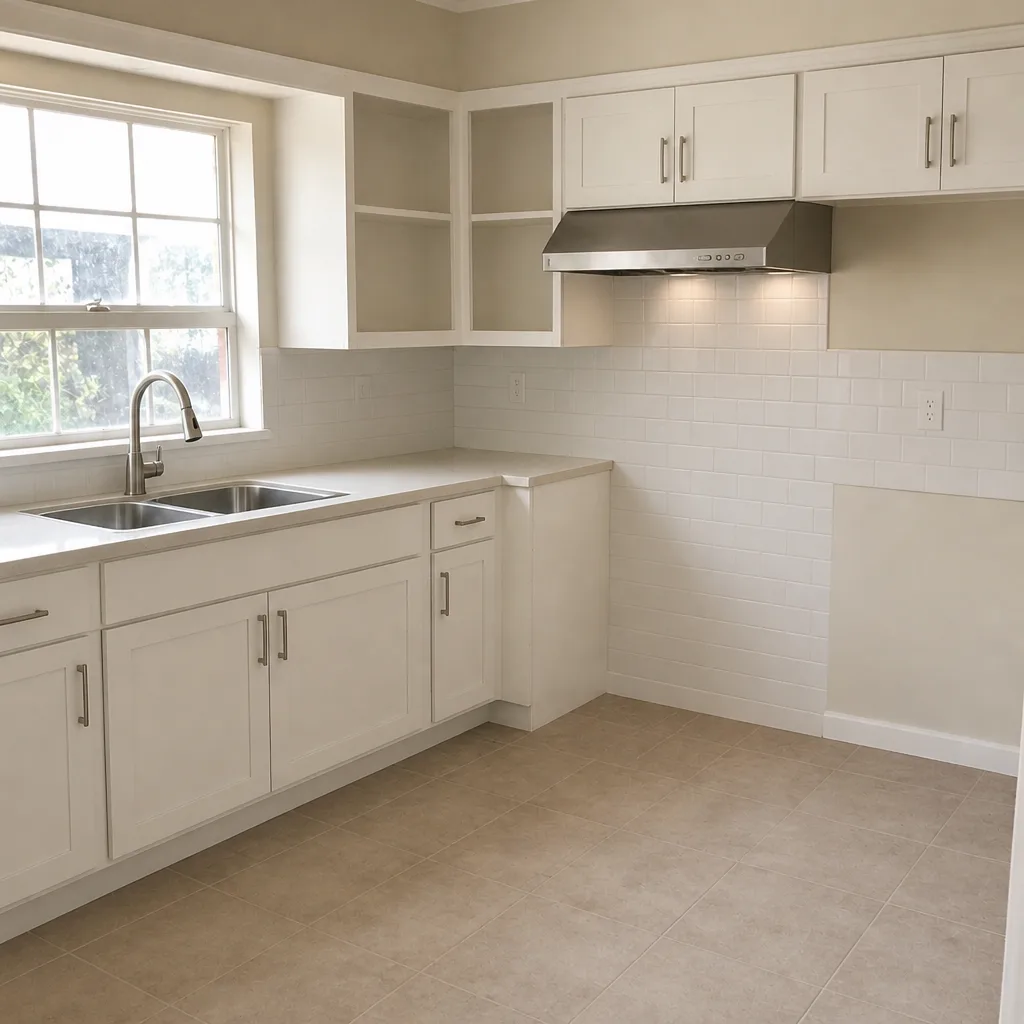
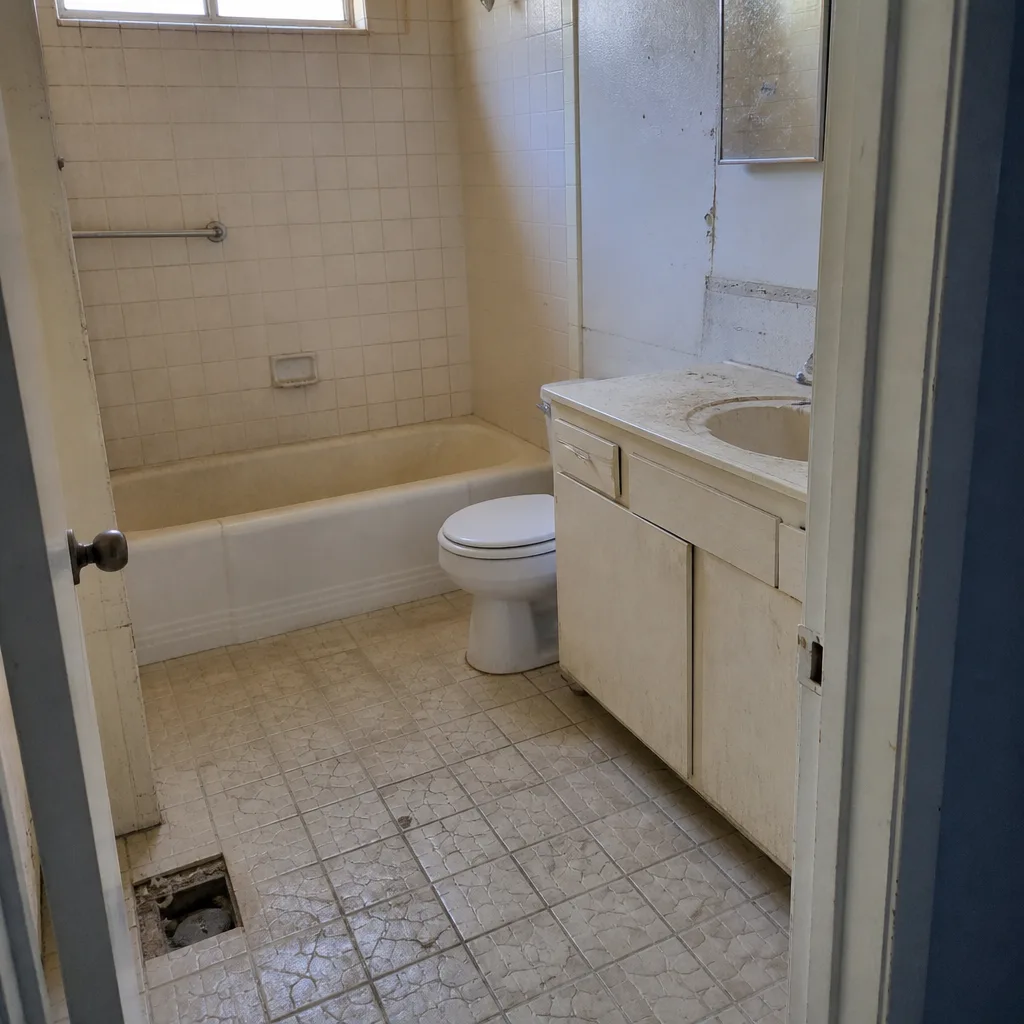
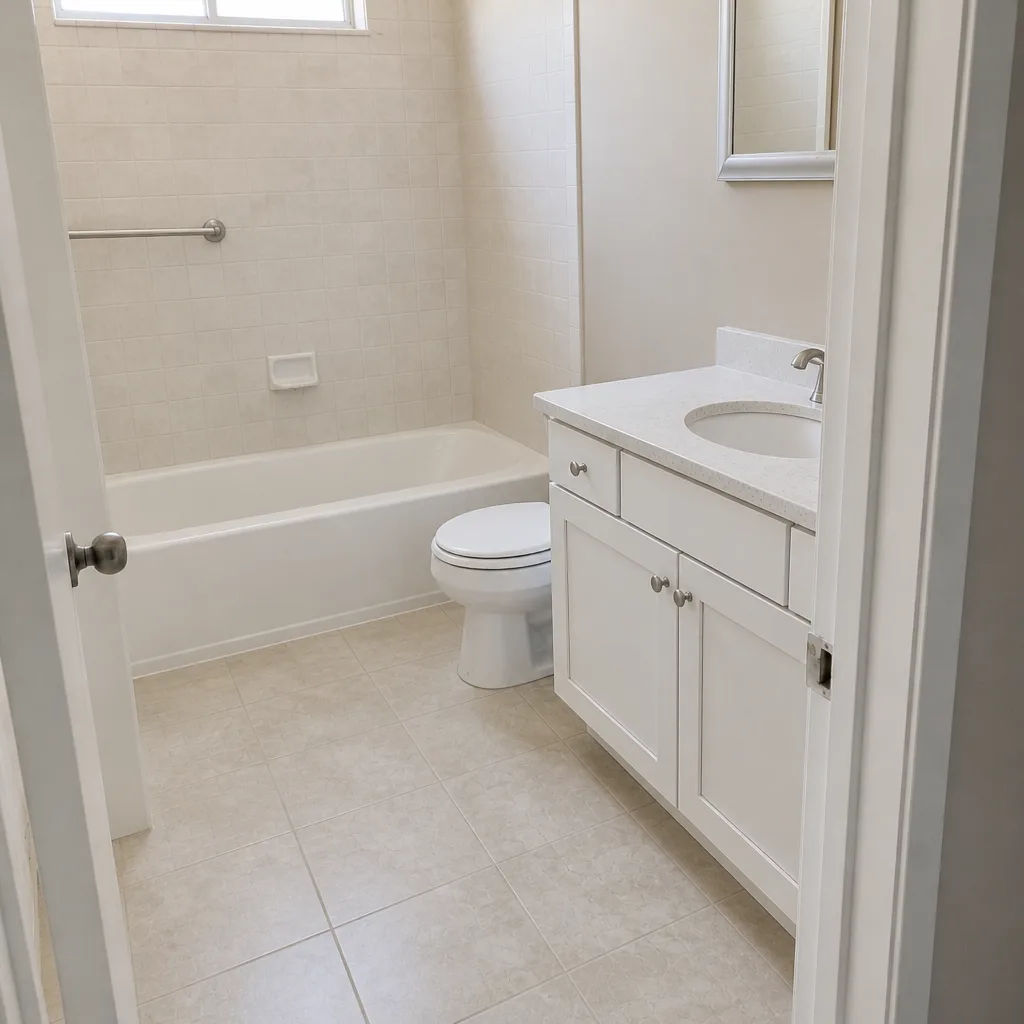
See the difference
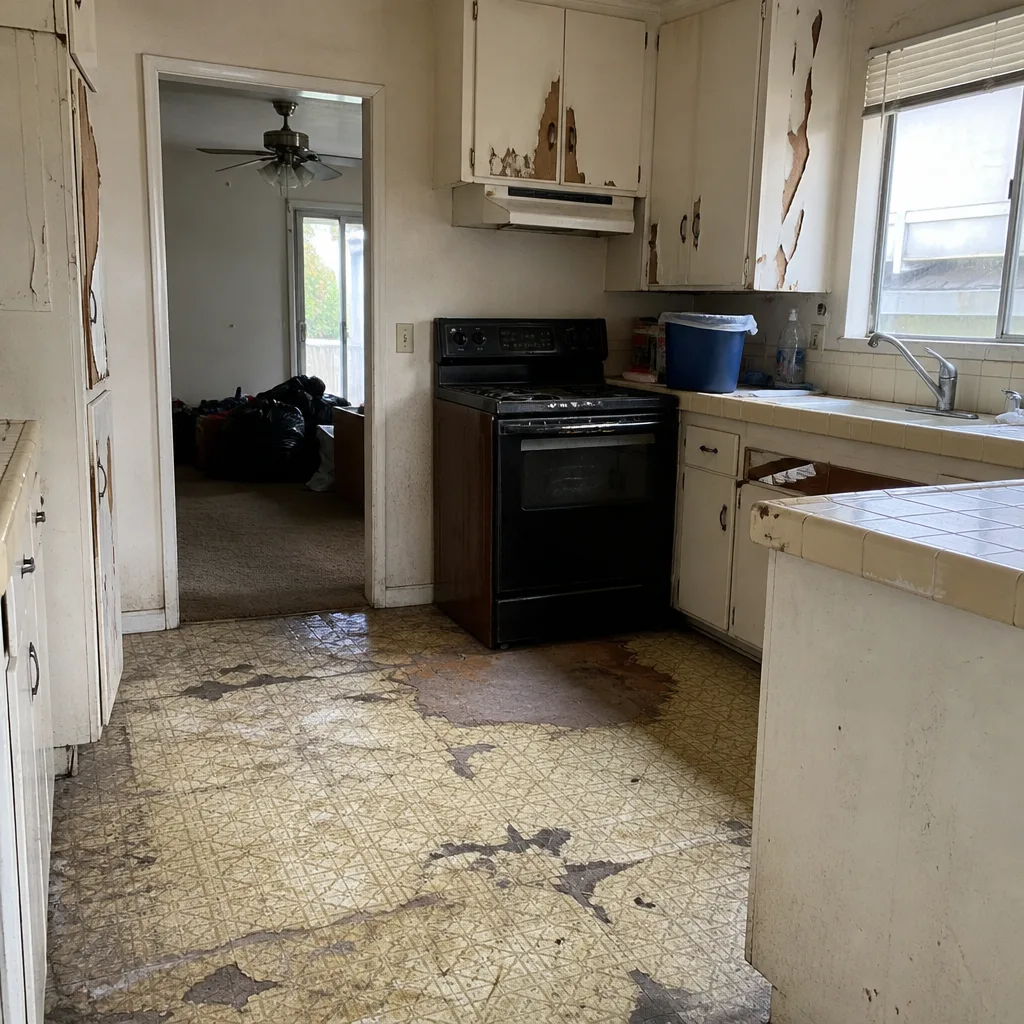 Before
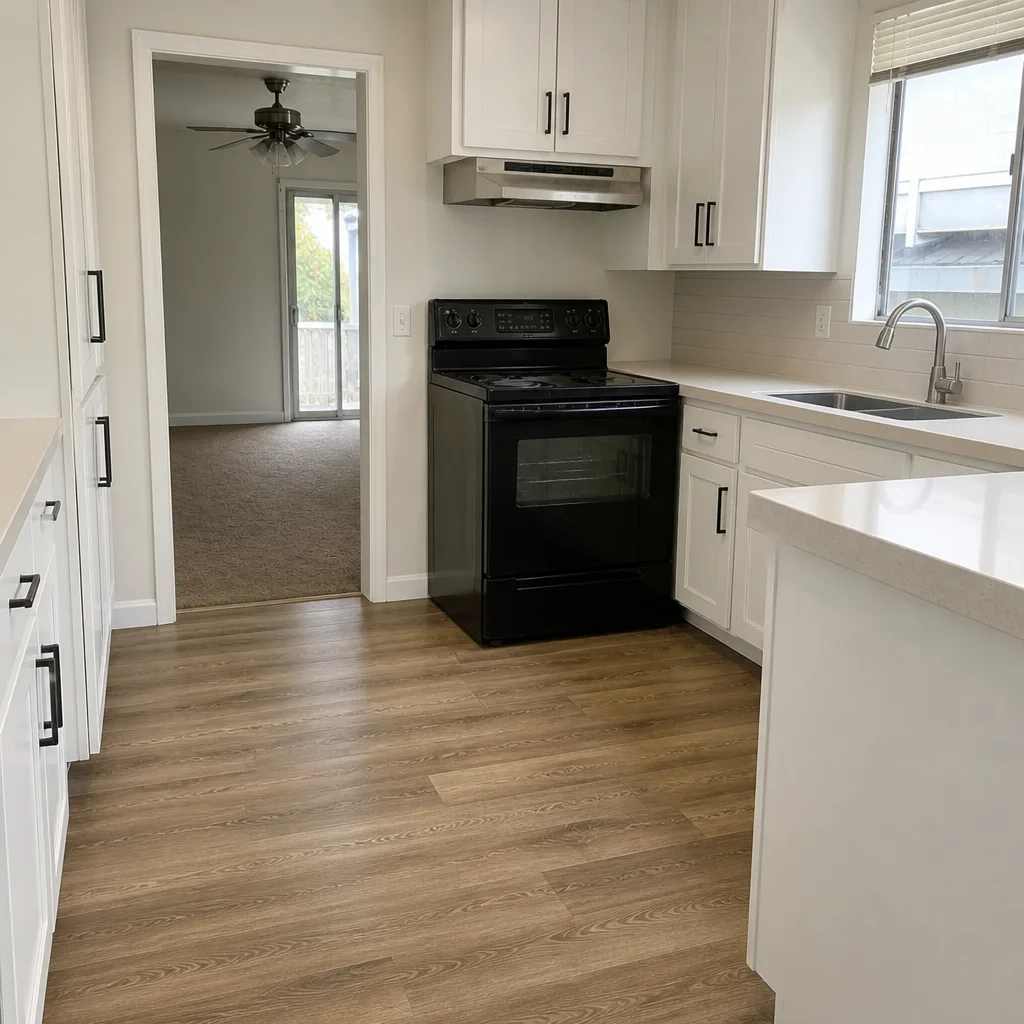 After
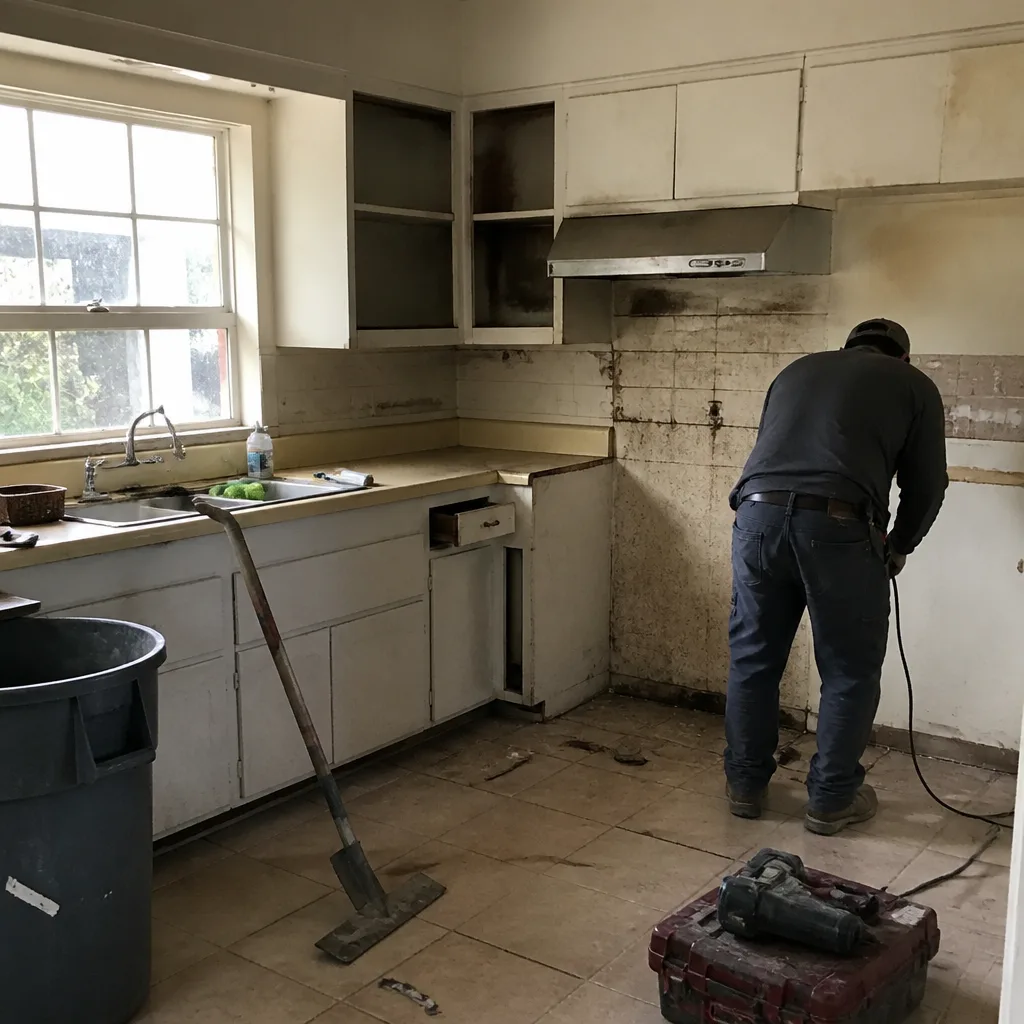 Before
 After
 Before
 After
When to Call a Professional
Call a professional when the fix touches plumbing, electrical, structure, or waterproofing. A grout joint you can seal yourself. A shower pan that needs the tile out, a metal liner out, and a new pan built does not go on your weekend list, and the tools and inspection required mean the work is permit-eligible. The same goes for any electrical work on a bath circuit, any re-framing, and any correction to a drain or trap. Cosmetic paint and a flapper swap are homeowner fixes. Substrate, liner, and code-compliance work is not. If you’re unsure which category you’re in, get someone to look at it. Our team connects homeowners with independent local professionals who work under documented scopes, and our technicians have up to 22 years of experience in the field. Bradford Remodeling Co Costa Mesa offers free estimates in Costa Mesa. Call (855) 659-2556 to schedule one.
Frequently Asked Questions
Re-grouting a single failed joint usually runs $150 to $400 if the problem is cosmetic and the substrate is sound. Substrate failure, where the tile has to come out and the floor gets rebuilt, runs $2,500 to $6,000 or more depending on the tile and floor size. The diagnosis is the cost driver, so get the fix priced after a professional verifies the substrate. Call (855) 659-2556 for an exact quote; estimates are free.
Because the fan might not be moving enough air. Check the CFM rating; a fan that is undersized for the room won’t clear moisture no matter how long it runs. The other common cause is a missing vapor barrier on an exterior wall. Fix the ventilation first, then repaint once the wall is dry. Call (855) 659-2556 and we can help you sort out which is happening.
It shouldn’t, and on a properly scoped job it won’t. The price gets written before work starts, and a fixed price means the number doesn’t move at the door. If a contractor discovers a hidden condition after starting, the correction gets priced in writing before any additional work goes ahead. That is how The Garrison Standard works, and it’s non-negotiable on our projects.
Usually yes. Correcting a shower pan, a drain, or trap distance is plumbing work and typically requires a permit and inspection, even if the original permit already closed. Electrical corrections on a bath circuit likewise need a permit. A cosmetic fix like a grout joint or a flapper does not.
Document it the day you notice it and send the description in writing within a few days. Don’t wait, even if the fix itself can wait. The date you first noticed matters in a warranty dispute, and the photos and the written email are what make a claim usable. If the problem involves water intrusion or electrical, don’t wait at all.
Your written scope is the evidence. If the item was in the scope and installed by the remodeler, it’s their responsibility; if it was pre-existing and the scope recommended a fix you declined, it’s yours. A dated photo log and the written contract settle the question. If the paper trail is unclear, call (855) 659-2556 to schedule a free estimate on the corrective work.
The Bottom Line
Grout cracking, slow drains, peeling paint, and running toilets are all symptoms, and each one points to a specific installation shortcut. Read the symptom, find the step that was skipped, and you know whether the fix is a $40 repair or a permit-eligible rebuild. “Industry standard” in California lives in two places: CSLB workmanship standards and the manufacturer’s written install specs, and both are usable against a warranty denial. Document the defect the day you notice it, with scale and date. And keep the scope in writing from the start. That’s the difference between a fix you control and one that drags on. When you want to plan a bathroom from the substrate up, see our Bathroom Remodeling in Costa Mesa page, and for the kitchen, our kitchen remodeling in Costa Mesa team works the same way. Start at the Bradford Remodeling Co Costa Mesa home page for how the written-price and 365-Day Done Right Promise run on every project.
Call (855) 659-2556 to schedule your free estimate in Costa Mesa. A live person answers, and the price gets written before any work begins.
Written by the team at Bradford Remodeling Co Costa Mesa.