Last updated November 18, 2026
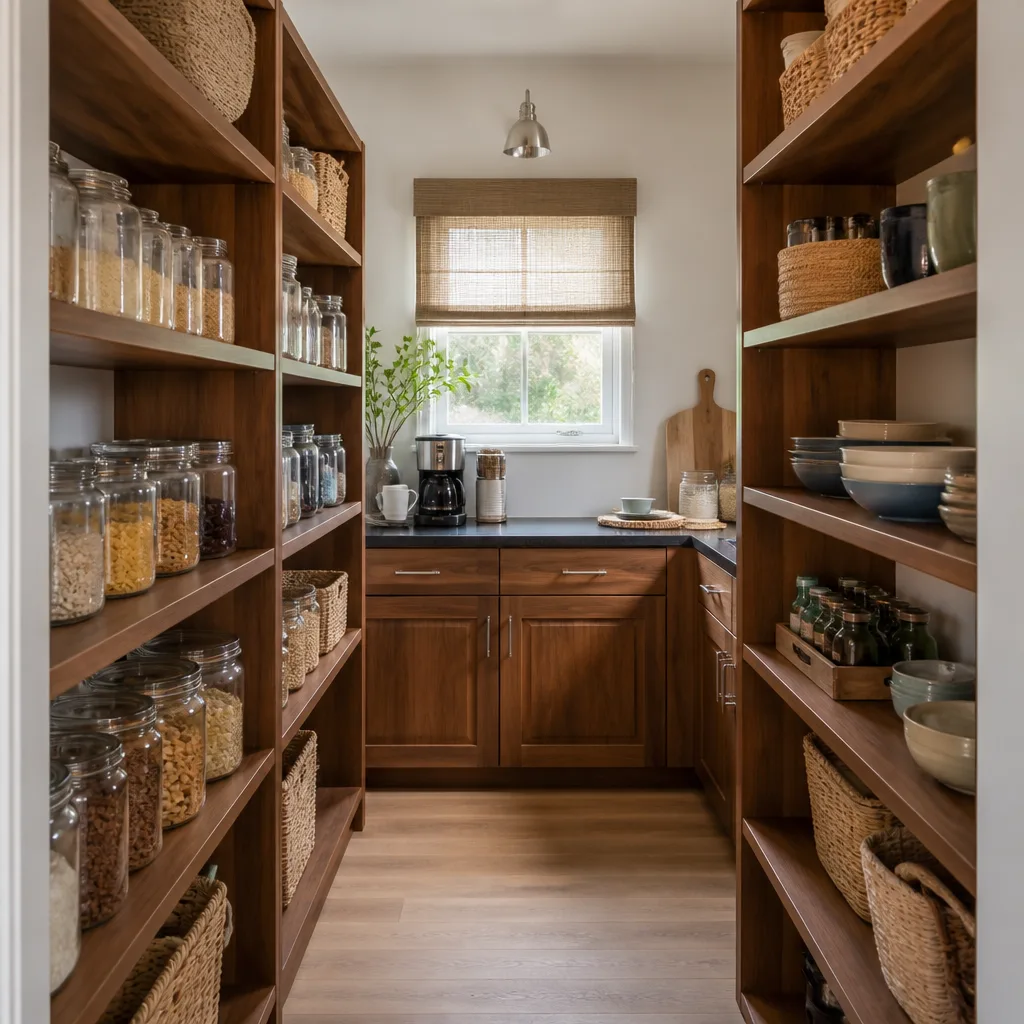





Free written scope consultation - allowances, timeline, and change-order rules on paper before a single trade is scheduled
Kitchen Remodeling Troubleshooting: Common Problems and How to Fix Them
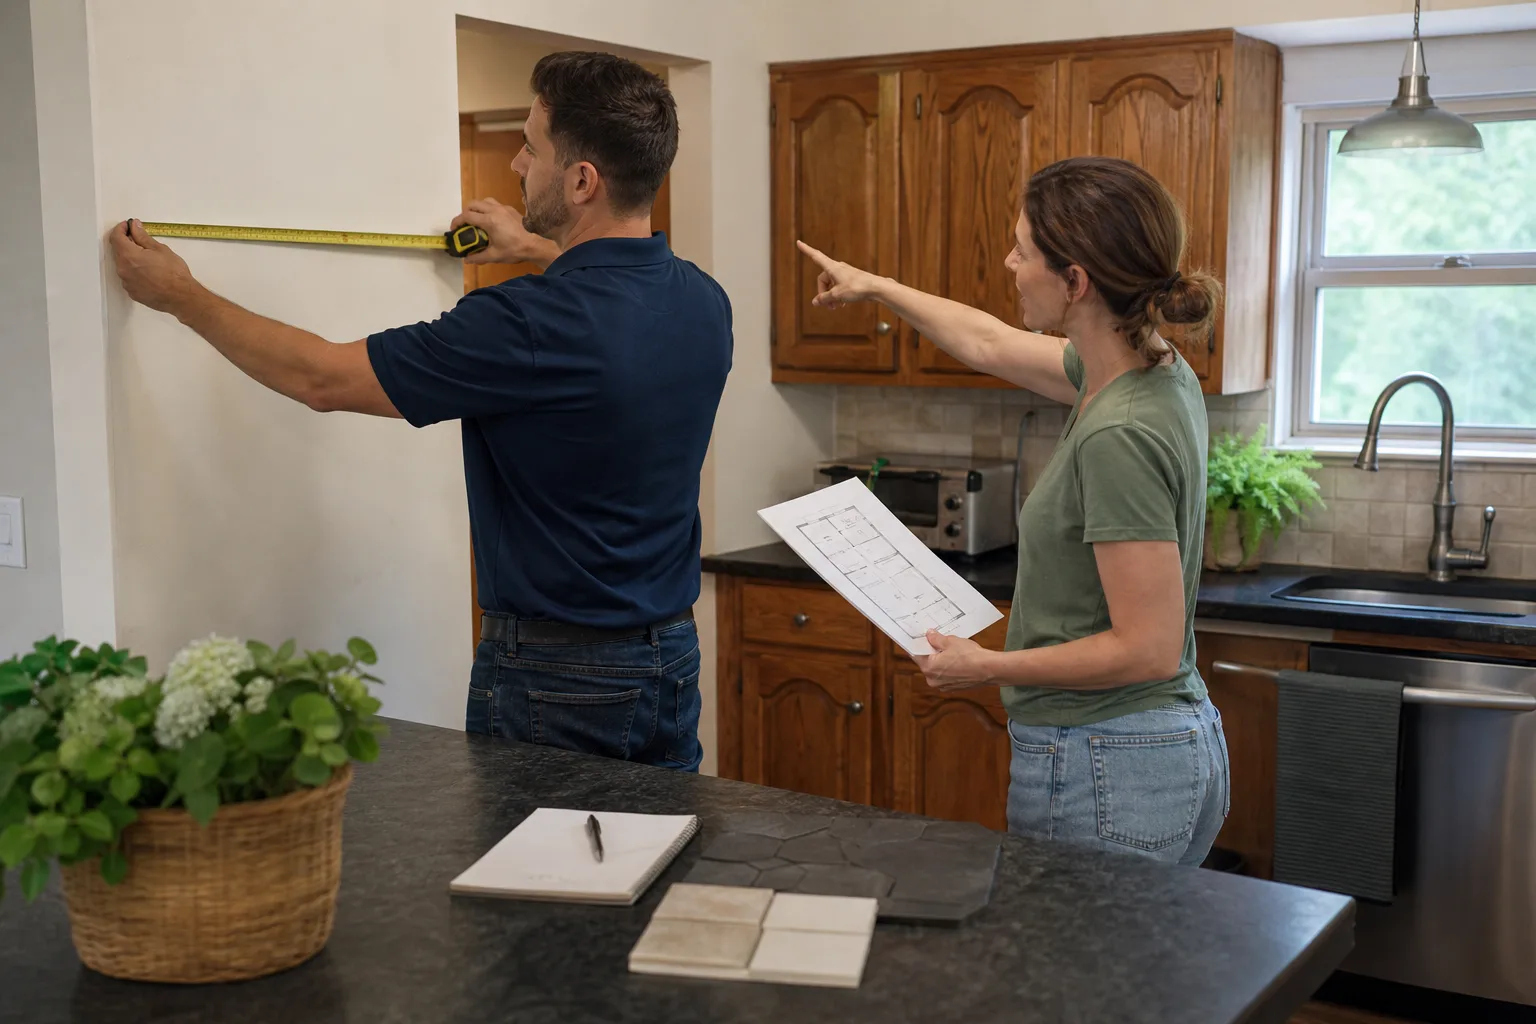
The most expensive mistake in a kitchen remodel usually isn’t the tile you fell in love with that doesn’t match the counter. It’s discovering the new range doesn’t fit the opening after the cabinets are set and the countertop is templated. On a recent Costa Mesa job, a 30-inch slide-in came with a cutsheet calling for 30-3/16 inches of clear width; the framed opening measured 29-7/8. That eighth of an inch turned into a cabinet run adjustment, a delayed template appointment, and a rescheduled delivery. Most remodel problems cluster around four failure points: cabinet alignment, countertop seams, tile layout math, and appliance rough-in dimensions. Below we break down how each one goes wrong, what it costs to fix before the mistake compounds versus after, and the verification step that prevents it.
Quick Answer
Nearly every kitchen remodel problem traces back to a step skipped before installation: verifying plumb, square, and dimension before cabinets, countertops, or appliances go in. An out-of-plumb cabinet run caught before template costs a few hundred dollars to correct; caught after fabrication, it can mean a full countertop reorder. Grout cracking at the backsplash is almost always a caulk-joint spec issue, not a grout failure. In our experience, the four checks that prevent the most trouble are cabinet alignment, countertop seam placement, tile layout math, and appliance cutsheet dimensions.
Styles & brands we work with
- Kitchen remodeling
- Bathroom remodeling
- Home additions & ADU
- Roofing
- Windows & doors
- Driveway & pavers
- Fence
Table of Contents
- Cabinet Alignment: The Check Before the Template
- Countertop Seams: Why Placement Matters More Than You Think
- Grout Cracking at the Backsplash: It’s the Joint Spec
- Range Hood That Won’t Exhaust: Tracing the Restriction Chain
- Tile Layout Math: The Failure You See Before You Grout
- Appliance Rough-In: Verify the Cutsheet Before You Frame
- Electrical: The GFCI and Circuit Issues That Fail Final Inspection
Cabinet Alignment: The Check Before the Template
Cabinet runs go out of plumb for reasons that have nothing to do with the cabinets themselves: uneven floor transitions, an out-of-square wall, or a base cabinet that was shimmed but never checked against the plane. The problems show up later as doors that won’t hold an even reveal, false drawer fronts that rub, and a countertop template that inherits every defect from the base below it. In Costa Mesa, where a lot of housing stock dates to the 1950s to 1970s, we regularly see floors that are off by half an inch over a 12-foot run, and walls that read square at the corners but bow by three-quarters of an inch at the midpoint.
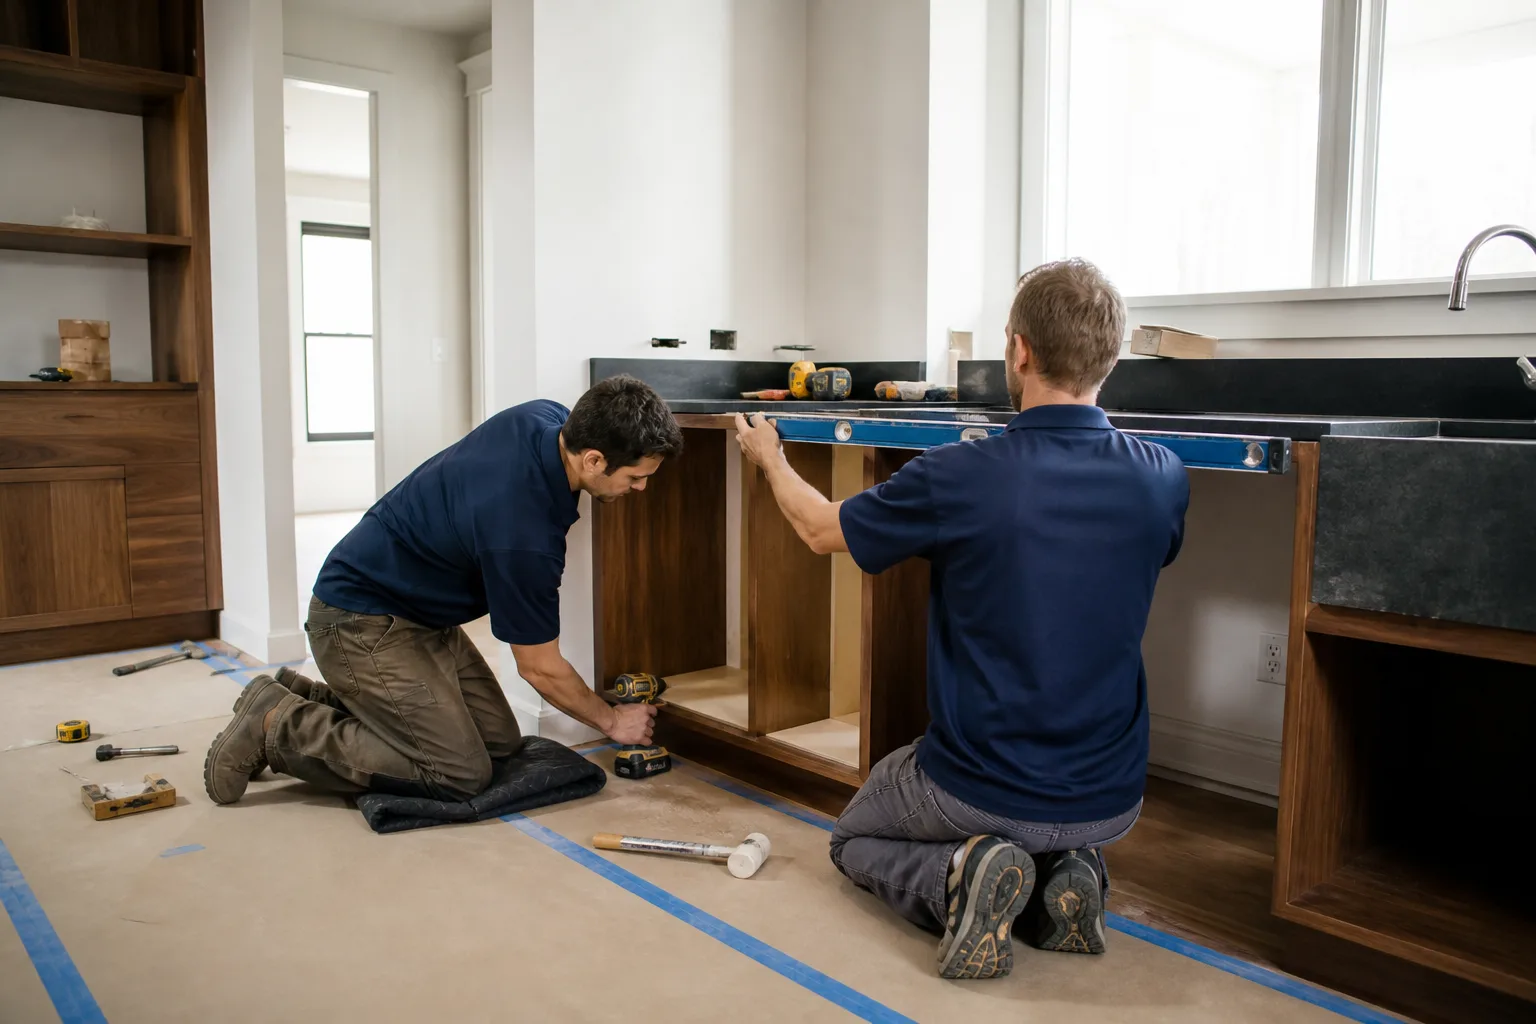
How to verify plumb before template
- Set a 4-foot spirit level across the top face of the cabinet run, front to back and side to side. Any gap more than 1/8 inch over 4 feet needs to be addressed before anything gets templated.
- Check the front plane with a long straightedge held against the cabinet faces. A run that “looks” aligned can still be off by a quarter inch over 10 feet, which shows up as a visible shadow line at the countertop edge.
- Plumb-check each end cabinet with a 2-foot level. Out-of-plumb at the ends telegraphs along the whole run.
- Confirm the gap between the top of the cabinet and the bottom of the template surface is uniform. A slack line under the counter edge is what the fabricator will see first.
On a Costa Mesa kitchen we corrected last spring, an east-side run was 5/8 inch out of plumb at the wall cabinet corner. Correcting the shim pack and re-setting the run took a half-day. Had it gone to template, the fabricator would have cut a countertop to fit the defect, which meant the counter would also match the defect for the next twenty years. This check is one of the reasons our Kitchen Remodeling in Costa Mesa walkthroughs start with framing verification before any finish material gets ordered.
Countertop Seams: Why Placement Matters More Than You Think
Countertop seams are determined during the template appointment and locked in when the slab is cut. After that, moving a seam means fabricating a new piece. If your fabricator placed a seam across the middle of a high-traffic work zone – say, the primary prep area or directly in front of the sink – you have leverage during fabrication and almost none after installation.
Two things drive seam placement: slab dimensions and structural support. A standard quartz slab runs 63 by 126 inches for Cambria and Caesarstone products, which means most kitchens need at least one seam. The fabricator decides where it lands, unless you specify. Ask for the seam to fall at a cabinet division, away from the dishwasher and sink cutouts, and in a low-traffic zone. Seams over a dishwasher are the worst placement because the appliance’s vibration stresses the joint over time.
Your recourse window
- Before template sign-off: full flexibility. Ask for a seam diagram and approve it in writing.
- During fabrication: limited. Most shops will re-cut if the slab hasn’t been cut yet, sometimes with a restocking or handling fee.
- After install: essentially none. A seam in a bad spot is a cosmetic objection, not a defect, and the fix is a new slab at your expense.
We specify seam location in writing on every Bradford Remodeling Co Costa Mesa home kitchen scope, which means the fabricator is working to a signed diagram rather than making the call on the shop floor. That’s the piece of discipline most homeowners don’t know to ask for until they’ve already learned the hard way.
Grout Cracking at the Backsplash: It’s the Joint Spec
If the grout line where your backsplash meets the countertop cracks within a few months of install, the culprit isn’t the grout. Grout is a rigid material and it has no business spanning a joint between two different materials that move at different rates. A countertop expands and contracts with heat and load; the backsplash is anchored to the wall. The joint between them needs to flex, which means it needs sealant, not grout.
The correct product specification is a sanded or unsanded siliconized acrylic or 100% silicone caulk matched to your grout color. The tile trade term is a “soft joint” or “movement joint.” Industry standard (TCNA guidelines for ceramic tile) calls for sealant at all inside corners and at the counter-to-backsplash transition. Grout in those locations will crack. It’s not a matter of if.
Costa Mesa kitchens we see with hairline cracks along the counter joint were almost always grouted there by a tile setter working from habit. The fix is straightforward: scrape out the failed grout with a grout saw, clean the joint, fill with a color-matched siliconized caulk, and tool it smooth. A fifteen-minute repair per linear foot of counter. The mistake comes from treating the joint like the rest of the field.
How to identify the wrong joint spec
- Look for hairline cracks that reappear after patching. Rigid filler under movement is the fingerprint.
- Check whether the joint sounds hollow when tapped – grout has a higher ring than sealant.
- Ask your setter what product is going into the counter-to-backsplash joint. If the answer is “grout,” stop the job before it’s sealed.
Range Hood That Won’t Exhaust: Tracing the Restriction Chain
A range hood that pulls weak or leaves smoke lingering is a specification chain problem, not a hood problem. The chain runs from the hood’s rated CFM through the duct diameter and length, out through the wall or roof cap. Break any link and the whole system underperforms.
The math is worth knowing. A duct run under 25 feet of straight pipe with two 90-degree elbows and a standard roof cap can usually carry the hood’s rated CFM. Push past that, or drop below 6-inch diameter on a hood rated for 600 CFM or higher, and the hood is choking. Every 90-degree elbow counts as roughly 5 feet of equivalent duct. Every 45-degree elbow counts as 2.5. Screen-type wall caps add restriction; louvered wall caps add less. Backdraft dampers that aren’t seated add restriction. A 900 CFM hood running through a 4-inch duct with three elbows and a screen cap is moving maybe 300 CFM at the hood face. That’s the whole story.
Costa Mesa homes on the city’s east side are frequently built with the range on an interior wall, which forces longer duct runs to reach an exterior wall or the roof. We’ve walked into remodels where the previous installer ran the duct through two interior walls before exiting, and the homeowner had lived with the weak exhaust for a decade thinking the hood was just old.
How to check the restriction chain
- Locate the hood’s nameplate. It will list the rated CFM at a specific static pressure.
- Measure the duct diameter and count every elbow between the hood and the exterior cap.
- Total the equivalent feet. If it’s over the manufacturer’s allowed run for your CFM and diameter, the system is under-ducted.
- Inspect the exterior cap with a flashlight from outside. A screen cap, a stuck flap, or a bird nest is the most common single-point failure.
Tile Layout Math: The Failure You See Before You Grout
Tile layout problems are visible during dry-fit, which means they’re catchable before grout goes in, which means they cost almost nothing to correct. The failure happens when tile is set without a layout plan. Small slivers at the ends of a wall, a centerline that lands a half-inch off from the sink, an odd number of tiles across a backsplash that produces a half-tile cut at both ends: all of these are math, not craft.
The rule we work to is no cuts under half-width at the ends of any visible plane. That means the layout is centered, the field is adjusted with the grout line, and where possible the cut tiles are equal at both ends. On a Costa Mesa kitchen with 3-by-6 subway tile in a running bond pattern, this often means starting the row 1-1/2 inches off center so the ends come out even. It looks centered to the eye. It’s not mathematically centered, and that’s the point.
How to verify layout before grout
- Snap a centerline to the sink or the range. Measure from centerline out to both ends of the wall. The remaining distance at each end should be the same, and should be at least half a tile width.
- Dry-fit a full row before setting any thinset. If the row reveals a sliver, recalculate now.
- Check pattern match at inside corners. Running bond on adjacent walls should carry the grout lines continuously around the corner.
- Confirm the accent band or horizontal detail aligns with the window sill. Nothing reads worse than a decorative line that’s a half-inch off from the trim above it.
The same math governs the floor. Tile layout mistakes on the floor are harder to correct because they usually mean pulling set material, which is why we confirm the dry-fit with the homeowner before any thinset gets mixed on Costa Mesa installs. See our Bathroom Remodeling in Costa Mesa guide for the identical rule applied to shower walls and floors.
Appliance Rough-In: Verify the Cutsheet Before You Frame
Manufacturer cutsheet dimensions are the most-skipped verification step in kitchen remodeling. A range, dishwasher, refrigerator, or microwave drawer is delivered to a dimension that lives on the manufacturer’s specification sheet, not in your head. If the opening is framed to “a 30-inch range” instead of the actual cutsheet width, height, and depth, you can find yourself with a finished cabinet run that won’t accept the appliance.
The three dimensions that trip people up most often: refrigerator depth (counter-depth models still overhang the standard 24-inch cabinet height by 1-2 inches when doors are included), dishwasher height clearance above the finished floor (which can disappear once tile goes down), and wall-oven cutout depth (which is deeper than a base cabinet by three-plus inches on some models). None of these get caught if the drawing is built to nominal kitchen dimensions instead of the actual cutsheet.
The verification sequence
- Pull the cutsheet for every appliance before the cabinet order is placed. Download PDFs directly from the manufacturer, not from a retailer listing page.
- Mark the actual required opening dimensions (W x H x D) on the cabinet drawings in red. Confirm every dimension against the cutsheet, not against a nominal size.
- Verify the rough-in height accounts for the finished floor thickness plus any cabinet base molding. Tile and leveling compound add 5/8 inch or more.
- Verify the rough-in accounts for door swing and handle projection on refrigerators and wall ovens. The opening that fits the appliance box may not fit the appliance with handle and door open.
Every General Contractor in Costa Mesa plan we run includes a signed appliance schedule for this reason. The cutsheet verification is a written step, not a habit.
Electrical: The GFCI and Circuit Issues that Fail Final Inspection
Final electrical inspection on a Costa Mesa kitchen remodel fails for a short list of reasons that are almost always caught too late, after drywall. The most common: GFCI protection missing at the required locations, a dedicated appliance circuit that got tied to the general-purpose circuit, and box fill that exceeds code once knuckles and clamps are counted.
California kitchen GFCI rules cover all 125-volt receptacles serving countertop surfaces, and any receptacle within six feet of a sink. The dishwasher and disposal need dedicated circuits (dishwasher gets its own, disposal can share with the dishwasher on some configurations but many jurisdictions require separate). The microwave needs a dedicated circuit if it’s an over-range model. The refrigerator conventionally sits on its own circuit because it shouldn’t be GFCI-protected (a tripped GFCI would kill the fridge).
How to verify before drywall closes
- Walk the rough-in with a plug-in circuit tester and confirm every countertop receptacle is on GFCI protection before drywall goes up.
- Confirm each dedicated appliance circuit is labeled at the panel and lands on the intended appliance.
- Check that all junction boxes are accessible (not buried in drywall) and that no romex is stapled within 12 inches of a box.
- Verify the range hood circuit has adequate amperage for the hood model. A 900 CFM hood on a high-speed setting may need a 20-amp circuit, not a 15.
We walk this list with the electrician and photograph each verification before drywall. Costa Mesa permitting moves quickly enough that a missed GFCI costs a re-inspection cycle and a few days on the schedule.
Common Mistakes to Avoid
- Framing to nominal dimensions instead of the cutsheet. “A 30-inch range” and the actual delivered range are rarely the same number. Pull the cutsheet for every appliance before cabinets are ordered.
- Grouting the counter-to-backsplash joint. It’s a movement joint. Grout will crack. Spec color-matched siliconized caulk.
- Approving the countertop seam without a diagram. Seam placement is your call during template and the fabricator’s call after. Ask for a diagram in writing.
- Skipping the plumb check on base cabinets before template. A quarter inch off over 10 feet reads as a full shadow line under the counter edge that will never go away.
- Dry-fitting tile after the thinset is mixed. The dry-fit is a planning step. If it’s happening during installation, it’s happening too late.
- Running under-diameter duct to a hood rated above 600 CFM. Total the equivalent feet, add the exterior cap restriction, and confirm the duct matches the hood.
- Letting drywall close before the electrical rough-in is verified. GFCI and dedicated-circuit problems are cheap to fix before board and expensive after.
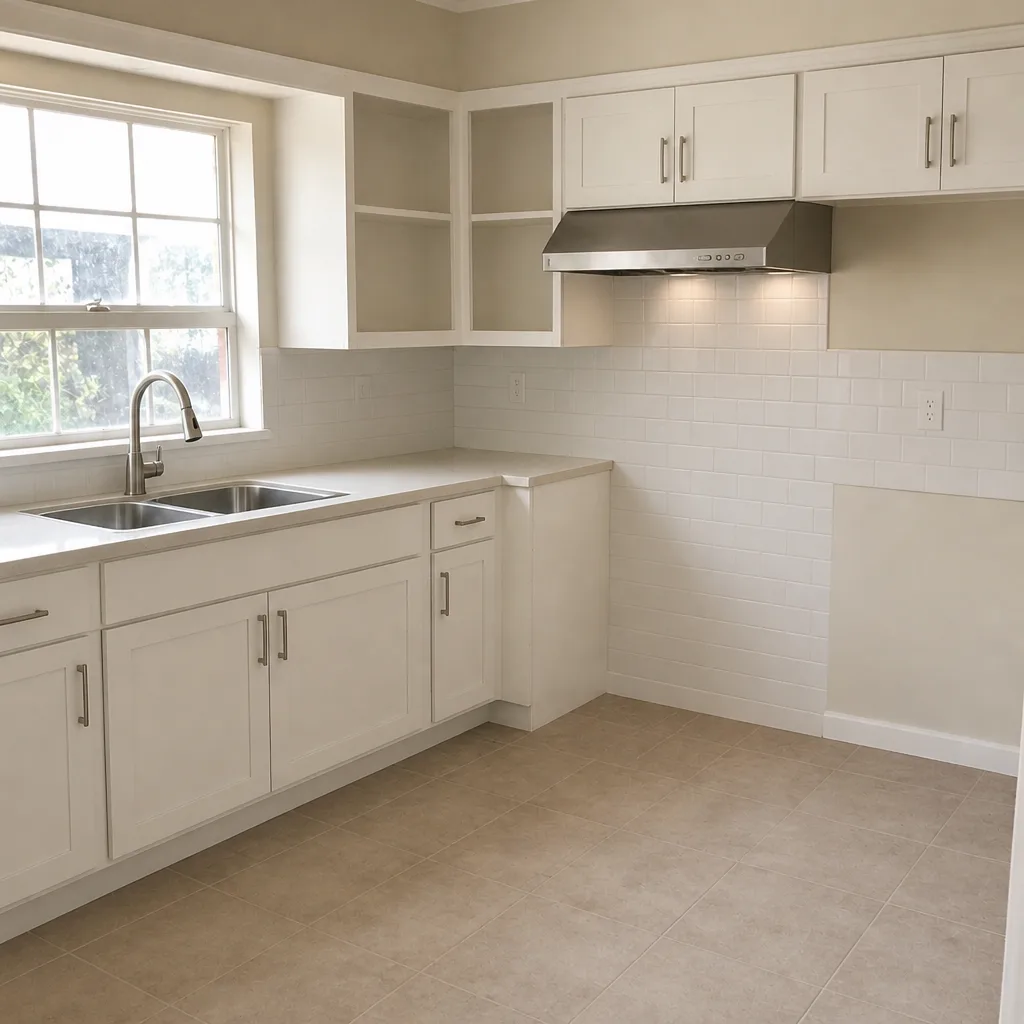
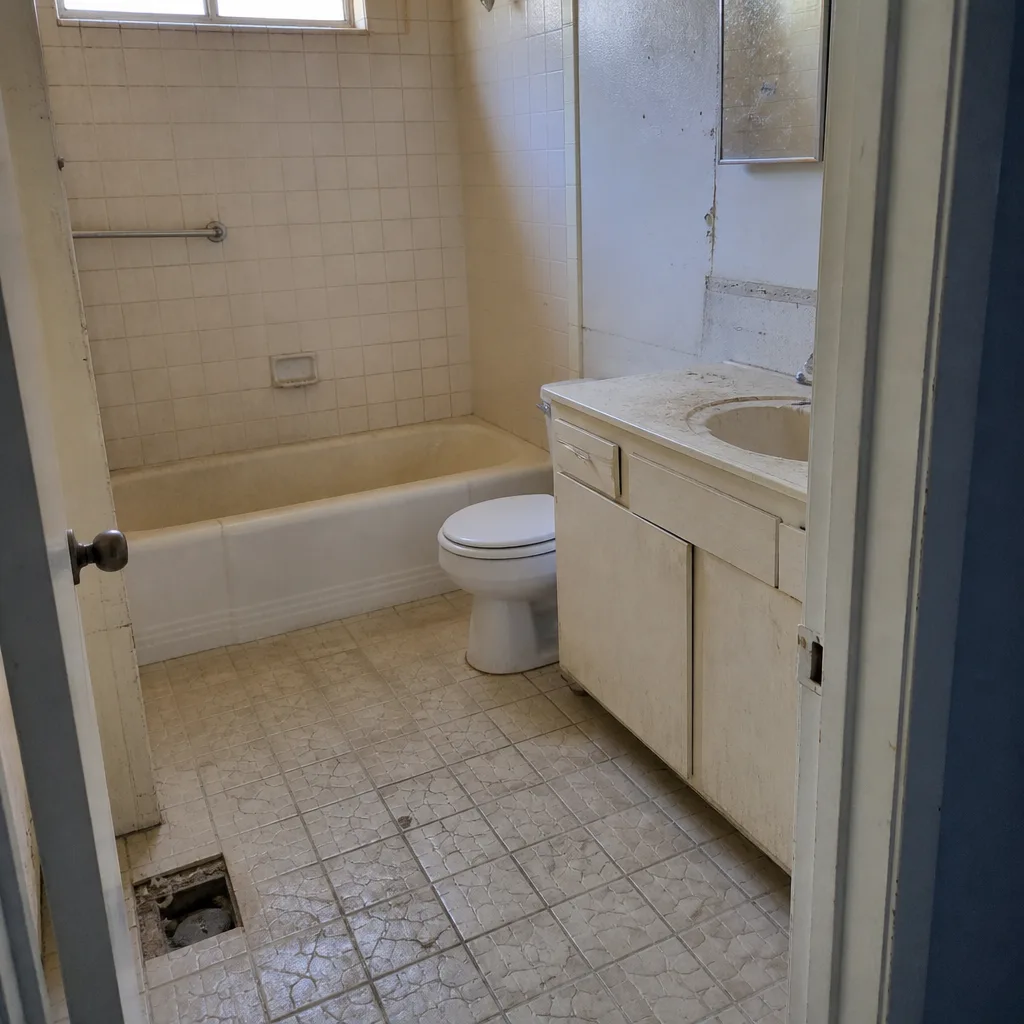
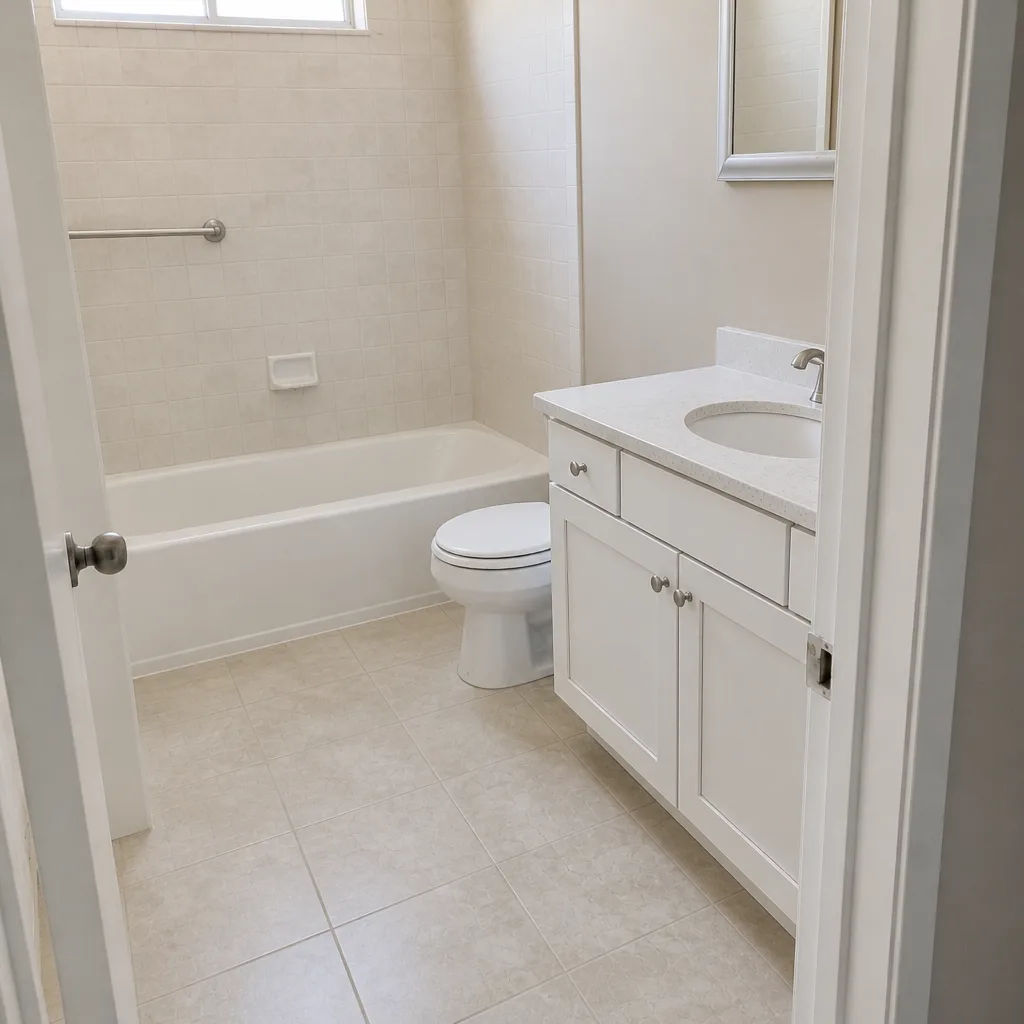
See the difference
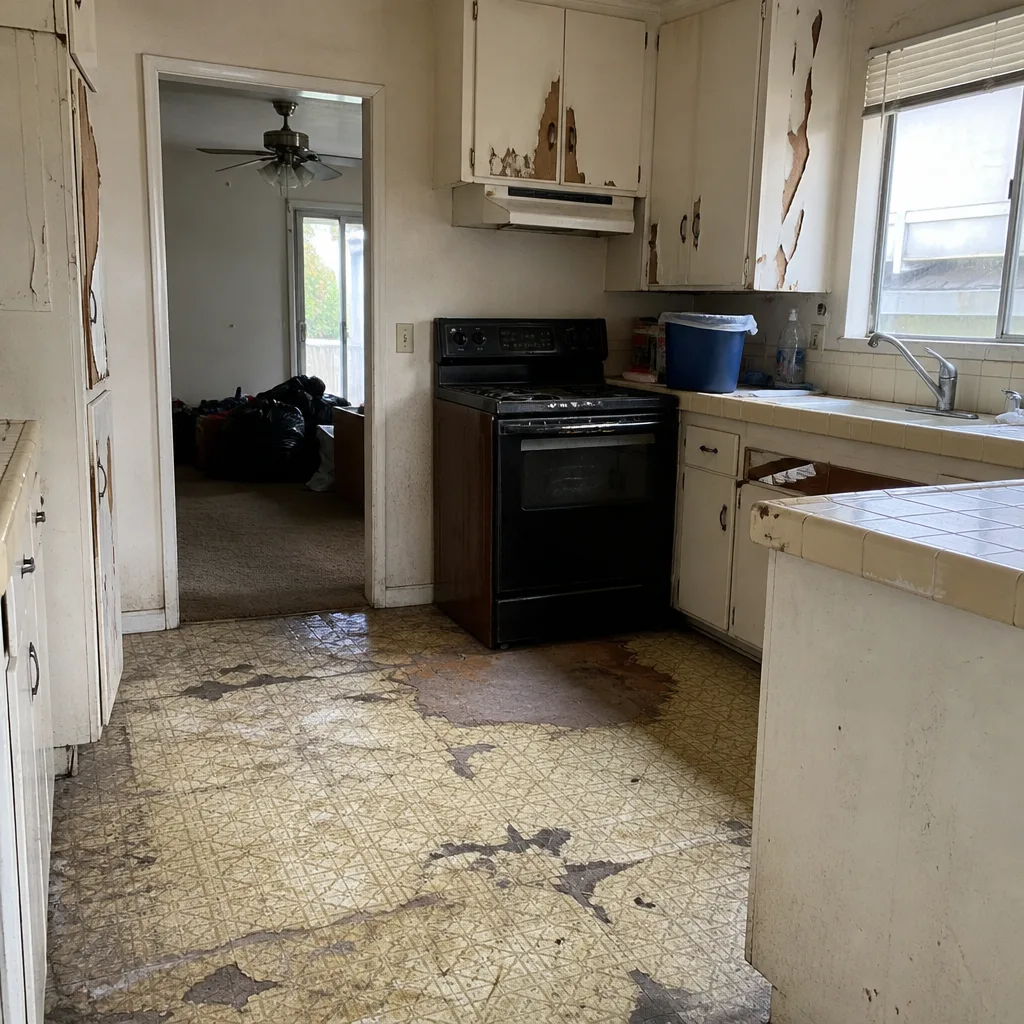 Before
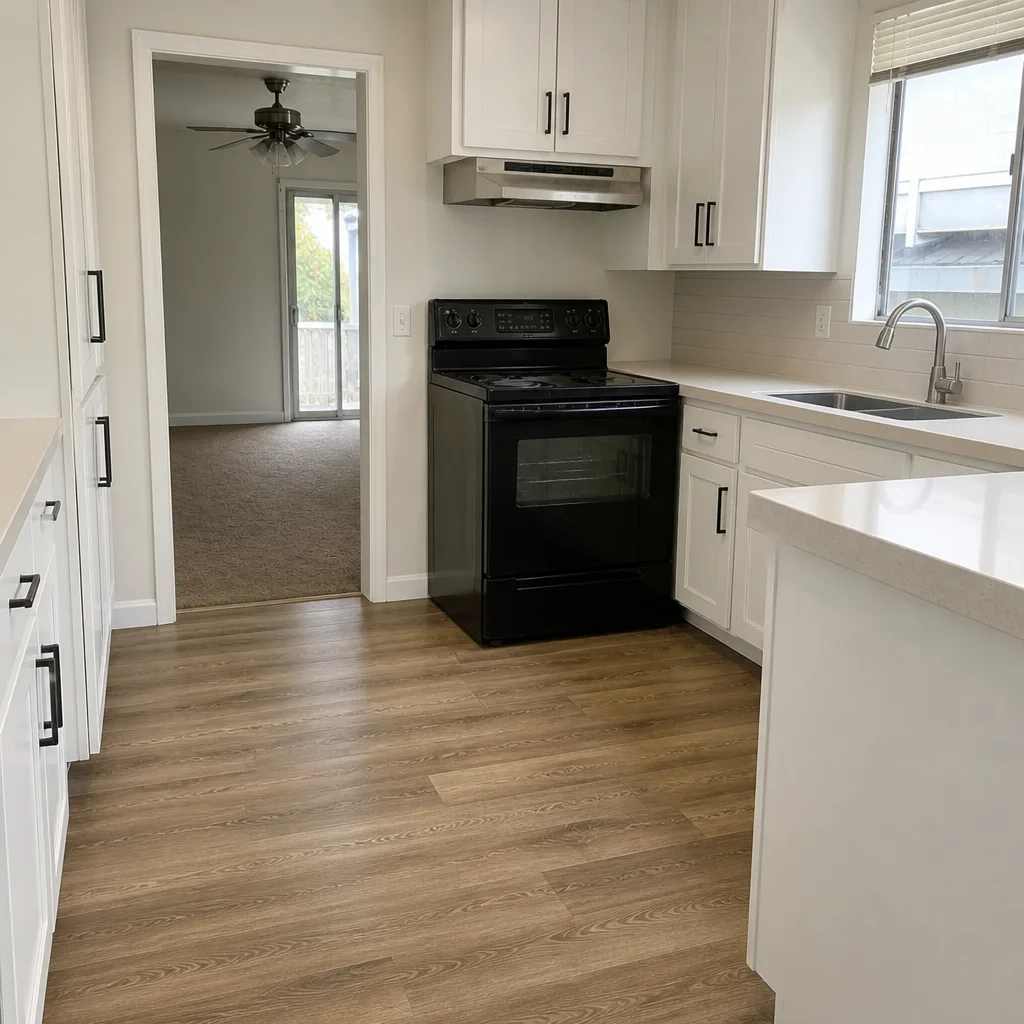 After
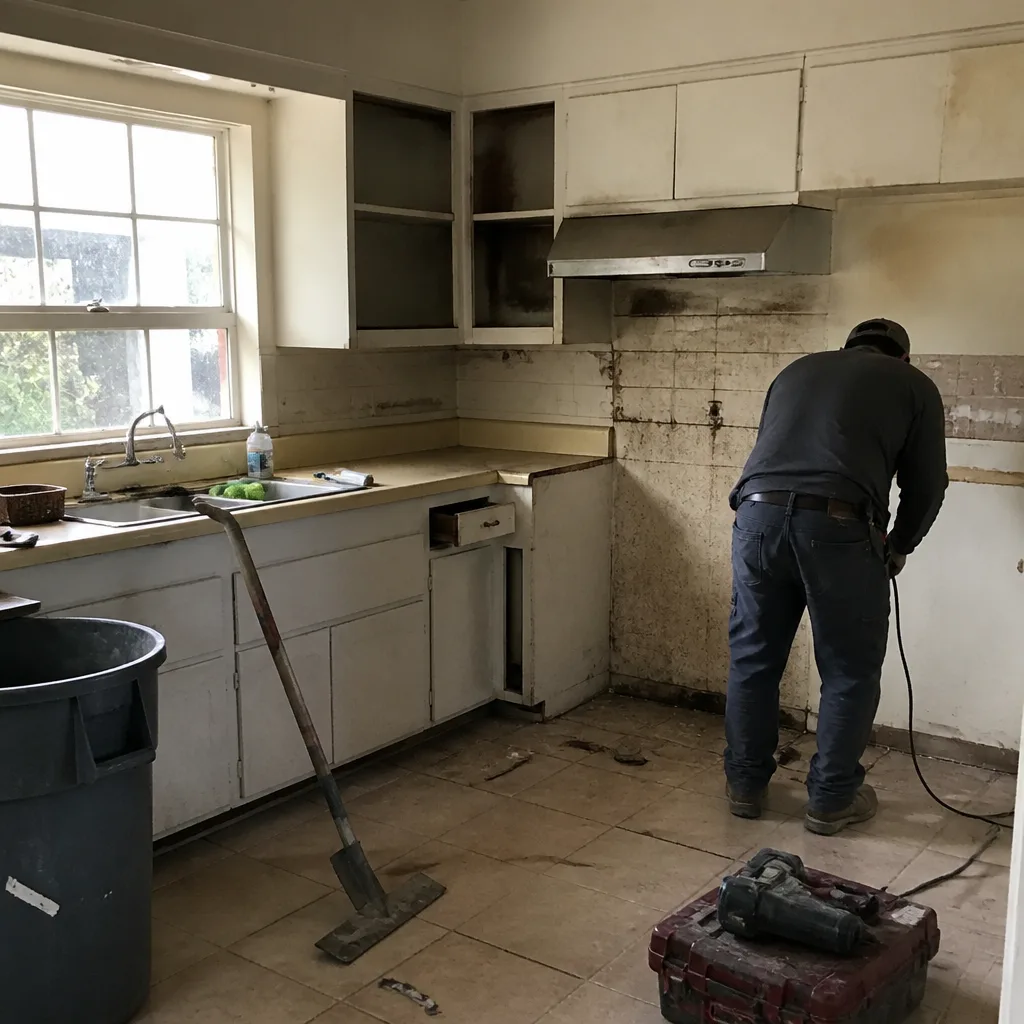 Before
 After
 Before
 After
When to Call a Professional
If your kitchen is mid-remodel and any of the checks above are unresolved, stop the next phase of work and get a professional verification. Cabinet runs that aren’t plumb should not go to template. Countertop seams without a signed diagram should not go to fabrication. Any electrical rough-in that hasn’t been verified against GFCI and dedicated-circuit requirements shouldn’t close. Duct sizing that wasn’t calculated against the hood nameplate will underperform for the life of the house.
Bradford Remodeling Co Costa Mesa offers free estimates in Costa Mesa. Our technicians have up to 22 years of experience, and every project runs to a written price before work starts, with the 365-Day Done Right Promise standing behind the finished job. Call (855) 659-2556 for a walkthrough.
Frequently Asked Questions
Correcting a cabinet run that’s out of plumb before template typically runs $300 to $700 for a mid-size kitchen, mostly labor to reset the shim pack and re-verify the top plane. If the same issue is caught after countertops are cut to fit the defect, the correction runs $3,000 to $7,000 because the counter has to be re-fabricated. Call (855) 659-2556 for an exact quote – estimates are free.
Caulk at the counter-to-backsplash joint fails when the joint surface wasn’t dry, was contaminated with grout dust, or was filled with the wrong product. Siliconized acrylic needs a clean, dry substrate and a full day to cure; 100% silicone needs even longer and resists paint. If it keeps failing, the setter is likely using the wrong product or skipping the cure window. Call (855) 659-2556 to have it evaluated.
Standard range hood sizing at 300 to 600 CFM covers most residential kitchens; a gas range typically needs 100 CFM per 10,000 BTUs. High-output and professional-style ranges need 600 to 900 CFM, plus a dedicated 20-amp circuit and a duct sized to carry the flow. Call (855) 659-2556 for a spec check on your hood and duct run.
Only by ordering a new slab. Once the fabricator cuts to the template, the seam position is fixed. The window to change it is during the template appointment, before the slab is cut. Ask for a written seam diagram and approve it before you sign the template. Call (855) 659-2556 to have us review the plan before fabrication.
The three most common Costa Mesa failures are missing GFCI at countertop and within-six-feet-of-sink receptacles, a dedicated appliance circuit tied mistakenly to the general circuit, and box fill that exceeds code with the installed conductors and clamps. All three are correctable, but not after drywall closes without re-opening. Call (855) 659-2556 to schedule a pre-drywall verification.
A mid-size kitchen remodel in Costa Mesa typically runs six to ten weeks from permit to final inspection, with cabinet and countertop lead times driving most of the schedule. Appliance verification, seam approval, and electrical rough-in review should all be complete before the first finish material is ordered, or the timeline slips. Call (855) 659-2556 for an exact schedule on your project.
The Bottom Line
Kitchen remodel problems cluster around four failure points, and every one is preventable with a pre-install verification step. Verify cabinet plumb before template. Approve the countertop seam diagram in writing before fabrication. Spec a flexible caulk joint at the counter and backsplash, not grout. Calculate the duct restriction chain against the hood nameplate. Pull the appliance cutsheet before you frame. Verify GFCI and dedicated circuits before drywall closes. The cost of catching each issue before the next phase is a fraction of the cost of fixing it after. Bradford Remodeling Co Costa Mesa puts every one of those verification steps into the written scope, backed by the 365-Day Done Right Promise and a live person answering the phone 24/7. Call (855) 659-2556 to schedule your free estimate.
Written by the team at Bradford Remodeling Co Costa Mesa.